How to Create a Youth Sports Team Website

If you have a youth sports team, one thing is certain: you need a sports website that will allow you to stay in touch with your fans, recruit new members, and attract potential donors and sponsors.
Luckily, you don’t have to learn web development and programming or hire an expensive web developer. With a platform like WordPress, anyone can quickly and easily create a great-looking website.
In today’s post, we’ll show you how you can easily create a sports website for your youth sports team with the help of WordPress and SportsPress plugin.
What Is WordPress?
WordPress is an open-source content management system (CMS) that’s used by more than 30% of all websites on the Internet. It’s free to download and use and it’s also beginner-friendly.
The best part about WordPress is that it has thousands of free and paid themes and plugins that make it easy to add all kinds of functionality to your website, without having to learn how to code.
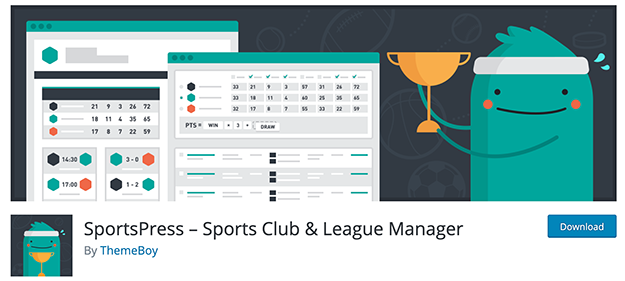
What Is SportsPress
SportsPress is a plugin for WordPress that allows you to quickly create a sports-based website. It adds features such as team member profiles, matches, score cards, interactive tournament brackets, and more. You can download the free version of the SportsPress plugin from the official WordPress plugin repository.
How to Use WordPress and SportsPress to Create A Youth Sports Team Website
So now that you know what WordPress and SportsPress are, let’s take a look at how you can use them to create a sports website for your youth sports team.
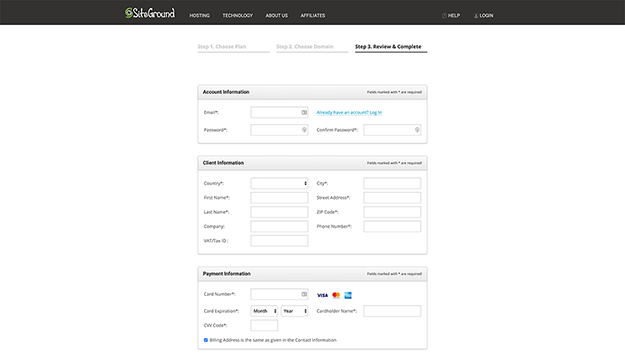
Step 1: Purchase Domain Name And Hosting
The first step to creating your youth sports team website is to purchase a domain name and hosting. Usually, this can be done in the same step as many hosting providers offer domain names as well.
The obvious choice is to use your sports team name as the domain name and pair it with an extension such as .com or .club.
Then choose a shared hosting plan as this is usually the best option for smaller or new sites. A few recommended hosting companies include BlueHost and SiteGround and they come recommended by Automattic itself, which is the parent company behind WordPress.
Explore hosting plans offered by both companies, read third-party reviews to get a more accurate picture of how happy and satisfied their customers are, and then choose one.
You’ll then need to choose a plan, enter your desired domain name, and complete the registration process.
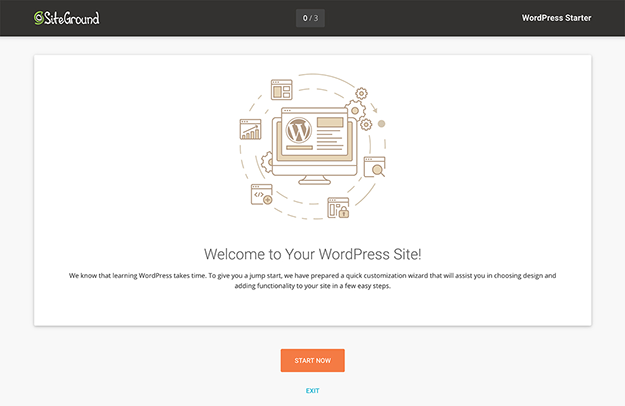
Step 2: Install WordPress
Once you’ve chosen your hosting company, they will send you a link with the login details for your account dashboard. In some cases, they might even give you the option to pre-install WordPress for you but if they didn’t, you’ll need to install it yourself. Luckily, it’s pretty easy to do.
Most hosting companies nowadays offer one-click installation of WordPress so look for an icon or a button that says Install WordPress. Then, follow the prompts on the screen.
You’ll need to enter your site name and description and choose a username and password which you’ll use to login to your WordPress website. Make sure you’ve chosen a strong password and a username that’s not admin. This will make your website more secure. Then, click the Install button and wait for the installation process to finish.
Step 3: Install SportsPress
Once WordPress has been installed, you can log in to the dashboard by going to yourdomainname.com/wp-login.php. Remember to replace the yourdomainname.com with your actual domain name.
Enter the username and password you chose during the WordPress installation process and click Log in.
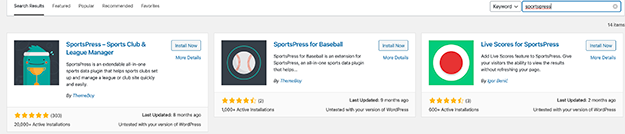
Once you’re in your dashboard, go to Plugins > Add New and search for SportsPress. Then, click Install and wait for the plugin to finish installing. You’ll then need to press the Activate button.
Step 4: Configure SportsPress
As soon as SportsPress has been activated, you’ll need to go through the configuration wizard to setup the plugin. Press the Run the Setup wizard and then simply follow the steps below:
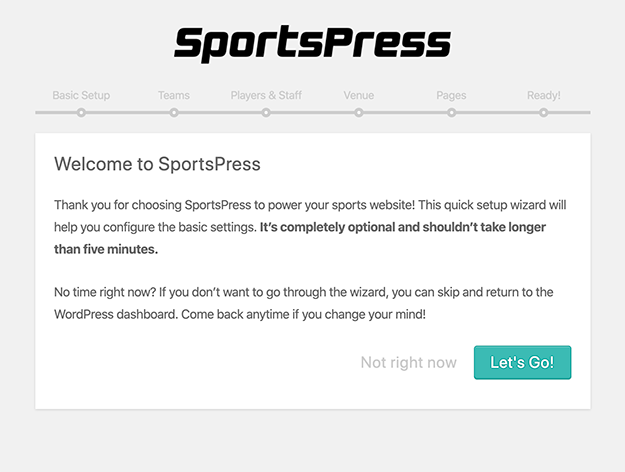
- Press Let’s go on the first screen
- On the next page, you’ll need to select your timezone. Here, you can also select your sport from the drop-down menu. Choose Other > Custom if you don’t see your particular sport. You can also enter your league name and the season on this screen.
- On the next page, type in your team name and enter your opponent’s team name.
- On the next few pages, you can add your team members. You can enter their name and position they’re playing. Then, click the Next button to continue with the plugin setup.
- You can add a venue on the next page or skip this step and enter it later on. You can also use the map to enter the precise location of your venue.
- On the next page, you’ll need to allow SportsPress to create the necessary pages.
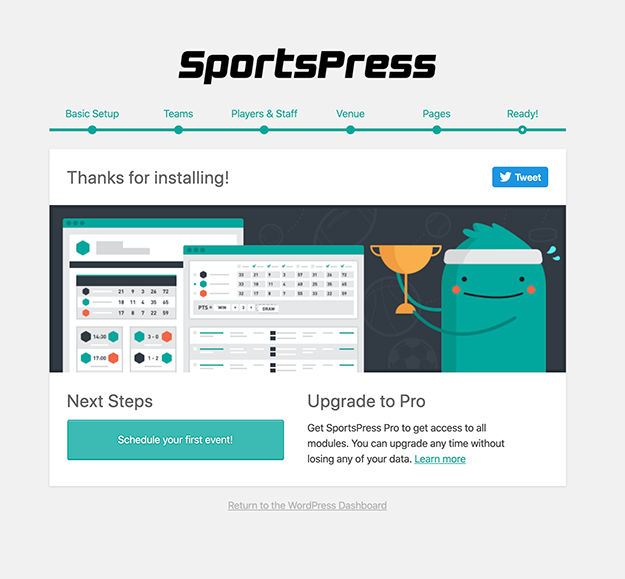
- Once you’re done with that step, you’ll see a success page and you can now create your first match so let’s do that now.
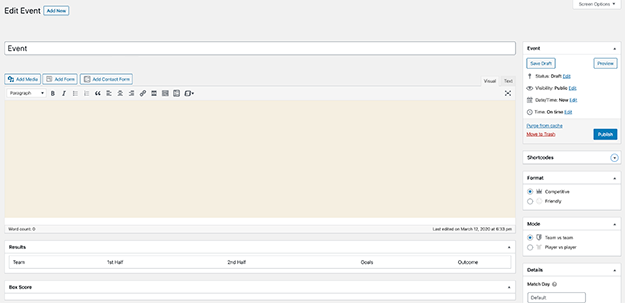
Press the Schedule your first event now and when the match editing screen loads, you’ll see that you can easily include all the important information about your match. Options include:
- Entering name and description for the match
- Adding box scores and results
- Displaying the information about the date and the venue
- And more.
When you’re done entering all the information, simply click Publish and your event will be live on your site.
Step 5: Install And Customize A Sports-Based Theme
The last step is to install and customize a theme that’s better suited for a sports website. By default, WordPress will come with a theme pre-installed and while SportsPress works with any theme, a theme made with sports teams in mind will make your site look more professional.
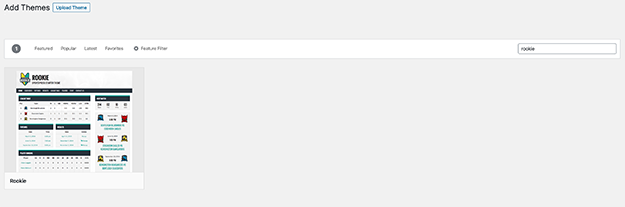
To install a theme, in your WordPress dashboard, go to Appearance > Themes. Search for Rookie and click the Install button. Wait for the theme installation process to finish and then click the Activate button.
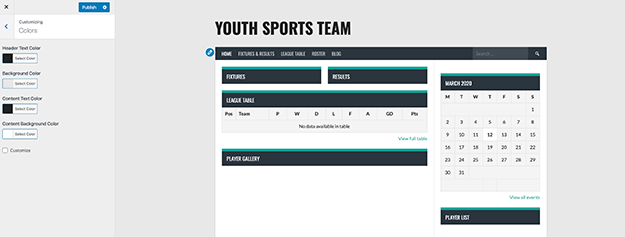
You can then customize the theme by going to Appearance > Customize. With the Customizer, you can change the colors used on your site and make them match your team’s colors, upload your team logo, choose fonts for your site and more.
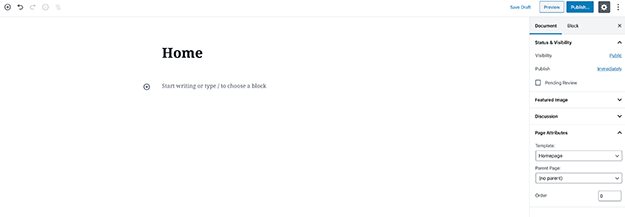
When you’re done customizing the theme, the last step is to create a page that will be the first page on your site that visitors see. This is your homepage and you can create it by going to Pages > Add new. Enter the name, such as Home or Homepage and choose the Homepage template in the Page attributes section. Then, click Publish.
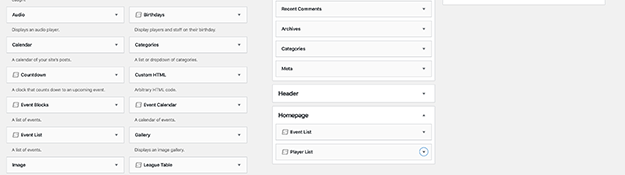
You’ll then need to go to Appearance > Widgets and drag the widgets you want to display in the Homepage sidebar area. For example, I decided to add the Event List and the Player List.
After you have all the widgets configured, go to Settings > Reading and set the page you just created as your homepage. Save your changes and you’re done.
Final Thoughts
As you can see, creating a youth sports team website is not that difficult. In fact, in just 5 easy steps, you can have your website up and running in a matter of hours. Don’t forget to download our checklist with all the steps listed in this article so you can keep it handy while you set up your site. Good luck!
