Customizing the WordPress Admin with Your Sports Branding
You have put a lot of time into your sports WordPress website. It looks sharp with its killer sports branding, but there’s no need to stop at the front end.
Bring the momentum all the way to the back end by customizing your WordPress dashboard, whether it be for your team, club or league.
The SportsPress Pro plugin effortlessly lets you display your logo, colors and sports branding with pride. All in a matter of a few clicks.
Today, I’ll share more detail on SportsPress Pro and I’m also going to show you how to use its branding settings to keep the team spirit flowing even when you or other members are editing your sports WordPress website.
Before We Get Started
First, you’ll want to make sure that you have the SportsPress Pro plugin installed. You access that from the WordPress Plugin Repository or from the SportsPress Pro website.
SportsPress is the premiere athletic/sports plugin for WordPress, with amazing features like league tables, automated team rankings, and dynamic player/staff rosters.
If you want to kick it up another notch, check out SportsPress Pro which has cool sports branding features like tournament modules, sponsor options, and designated team access for larger leagues.
It’s also the plugin I’ll be using to show you how to add your own sports branding to your website in detail below.
For details, check out How to Create a Sports WordPress Website for Any Sport and Making a Slam-Dunk Tournament WordPress Site with SportsPress Pro.
Getting into Gear
All set? Let’s do this. Be sure that the account you’re using to edit the site is an Administrator account or at least an account that has access to the SportsPress Dashboard.
It’s best to assign this role to someone responsible and trustworthy. As Uncle Ben says in Spider-Man (2002), “With great power comes great responsibility.”
For details, check out Managing Roles and Capabilities for Your Sports WordPress Site.
Log into WordPress and in the admin dashboard, go to SportsPress > Settings.
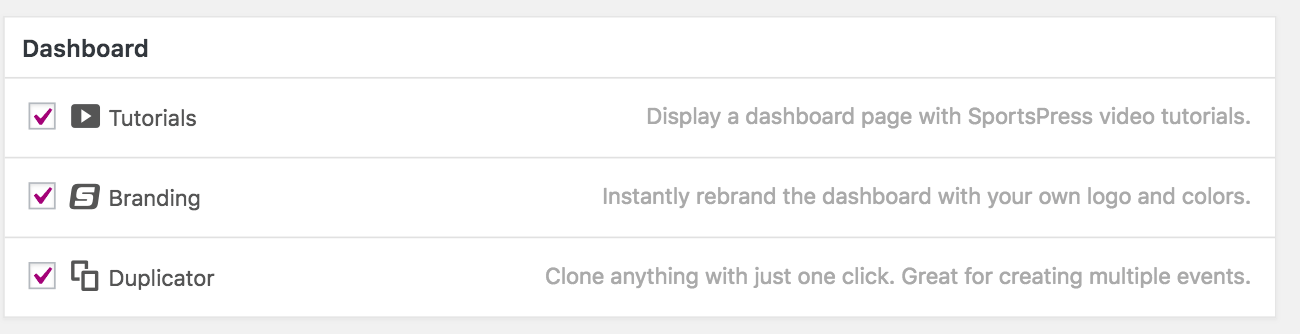
Be sure that the Branding module is checked. Otherwise, options aren’t going to be displayed later on to update your sports branding for the back end.
Configuring Your Sports Branding
Once that’s done, click on the Branding tab at the top of the page to begin adding your team, club or league’s sports branding.

On the Branding tab, there are a few sections. The first one is Label. This is where your team or league name will go.
It replaces the SportsPress title in the menu as well as at the top of the page so it’s clear where you can access specific team-related content.
Below Label, there’s an option to upload an icon such as a logo or another image that’s indicative of your team.
If you’re a fledgling team and still need a logo, check out How to Create a Sports Team Logo (And Why You Should).
It’s recommended you use an icon sized at 128px by 128px. You can also either set the color of your background or have it transparent to let your default background color surround the logo.
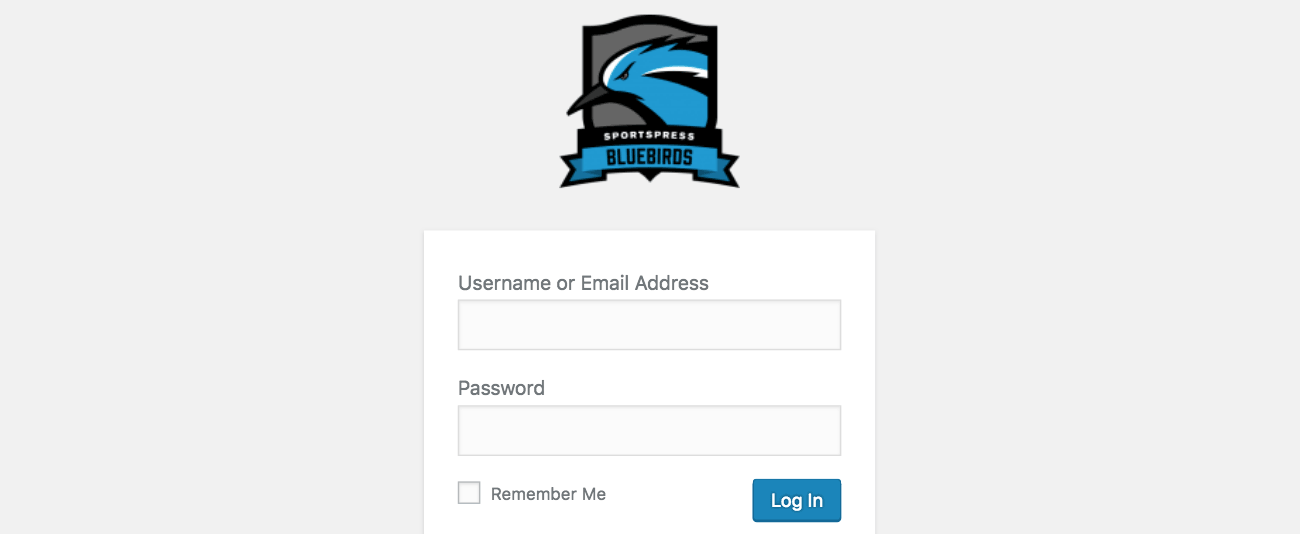
The logo is also displayed in the menu as well as on the login screen to welcome you to the editing process.
Selecting Your Color Scheme
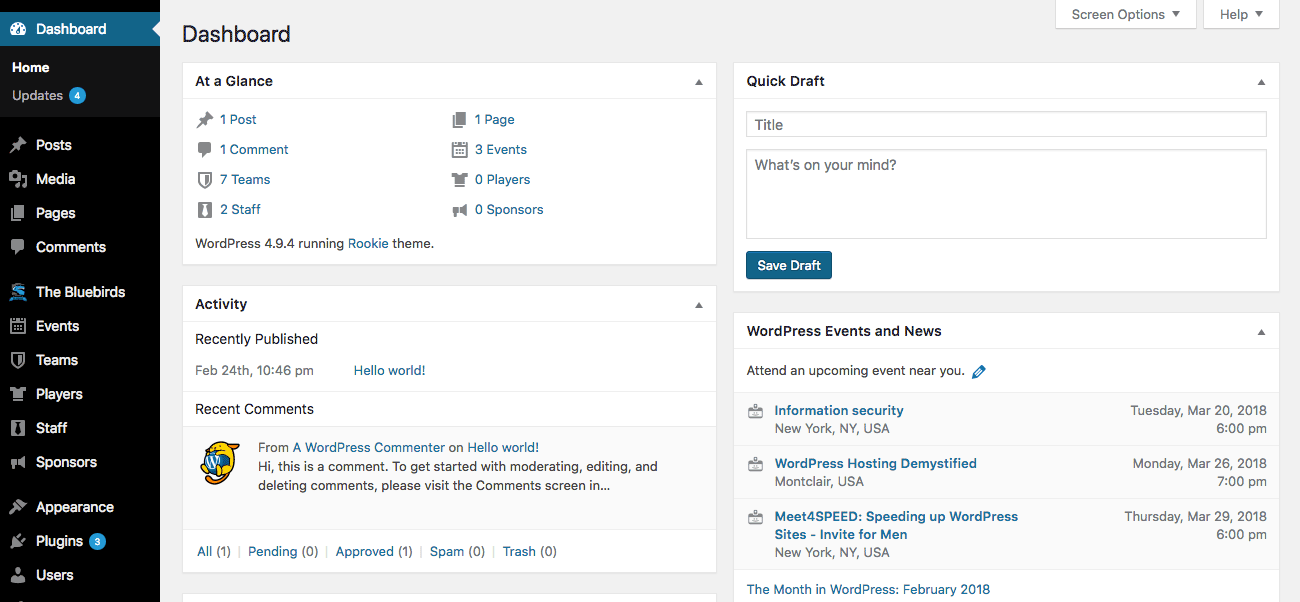
The third section of the Branding page is Admin Color Scheme. When this palette is changed, the default dashboard colors of WordPress become a rainbow of team pride.
All user dashboards affiliated with the team or league will have this color scheme unless they choose to switch it to a preset in their profile. If you’re managing a Multisite for different teams, the admin of each sub-site can change the color scheme to their own in the same way.
It may be important to note that this is not the same as the Team Colors module. For details, check out How to Customize Pages with Team Colors).
First, check the Enable box located beside the palette so that WordPress knows you want to go ahead with the switch.
The colors are determined through a Hexadecimal color code, which is a combination of six numbers or letters that correspond to the RGB (red, green, blue) values of a color.
If you have your team colors already broken down this way, you’re all set to start.
Input your hex codes to recolor your admin dashboard. The options for location are as follows:
- Base Color – The main background of your dashboard menu, which is typically a neutral or darker color is best for visual ease
- Highlight – The color of the team name or whatever you put in your Label section as well as other eye-catching places such as the checkmark of the Enable box
- Notifications – Typically a contrasting color to catch the eye, but if you have a monochromatic color scheme, try white or a non-neutral color
- Actions – Displayed when you hover over a link to perform an action
- Text – All the text on the screen within the base color and it’s best if this has a high contrast with the background color
It may be important to note that notifications appear at the top of each page in the back end to let you know there are updates available or some other new information.

And there you have it! A beautifully customized admin dashboard to help keep that energy up when you have to make some changes to your sports WordPress website.
Finding Your Team Colors
If you don’t know the hexadecimal codes of the colors you wish to use in your sports branding, you can find them quickly using an image and the Coolors browser app.
Find an image with the full range of team colors in it. A logo or file with content used for print material typically works best rather than a photo. A URL of the image should work great as well.
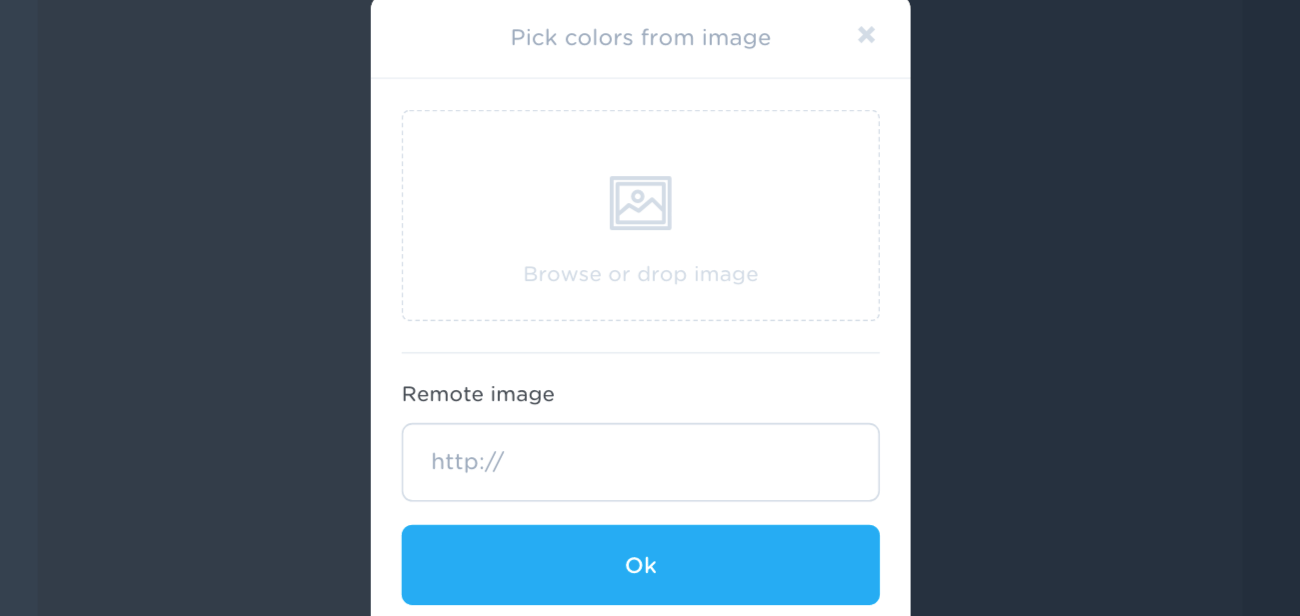
Go to Coolors and be sure you’re on the app screen where a color palette is displayed. Select the camera icon.

A pop-up should appear where you can choose the image file from your computer or enter in a URL from an outside source under Remote Image.
The app will pull colors from the picture and arrange them into a palette for you. If the app didn’t select the exact colors you want, you can use Auto to have it reselect or click on the color you want to change and drag the circle to the correct area.
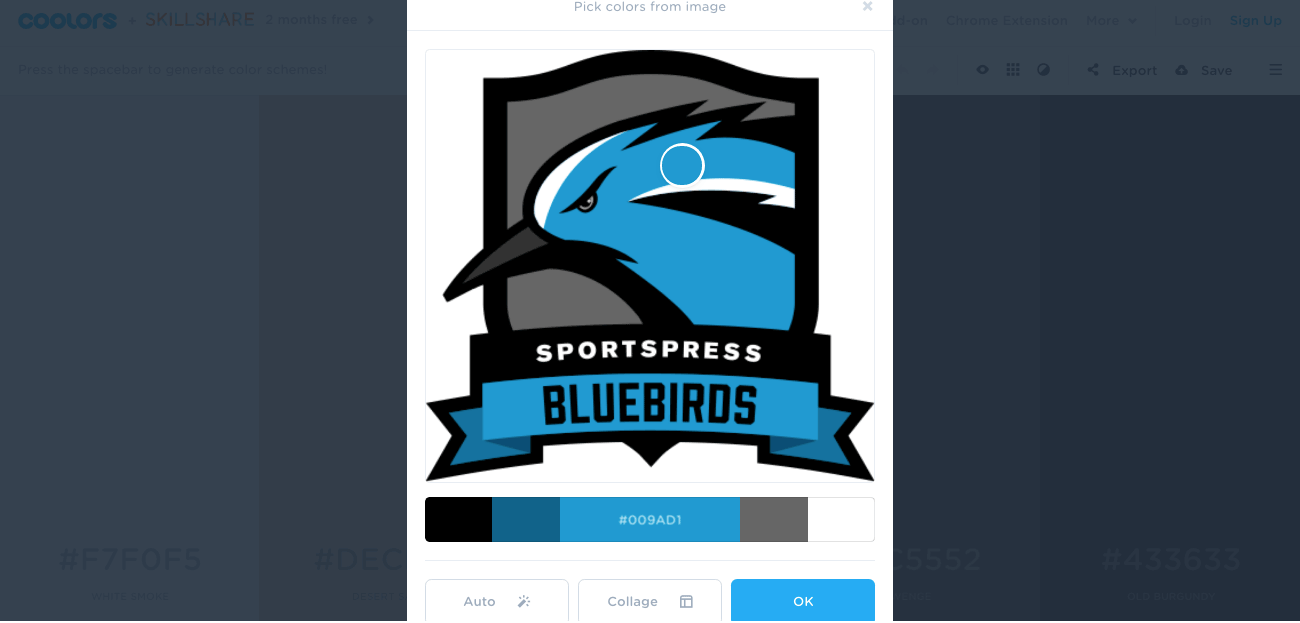
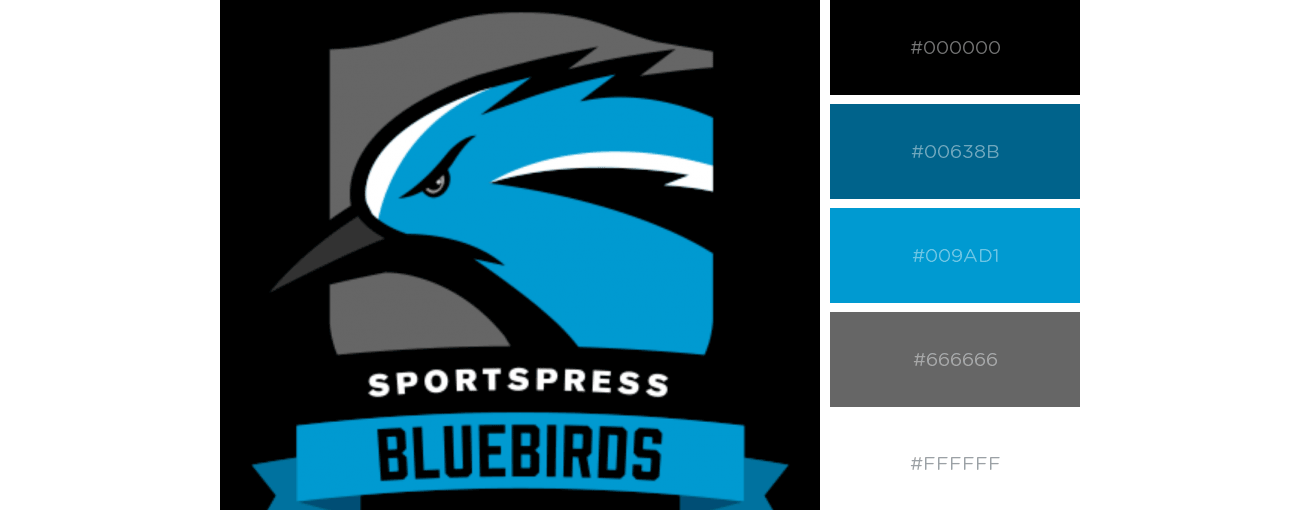
When you’re done, click OK or select Collage to have Coolors make a file for you with your image and the color hexadecimal codes right beside it.
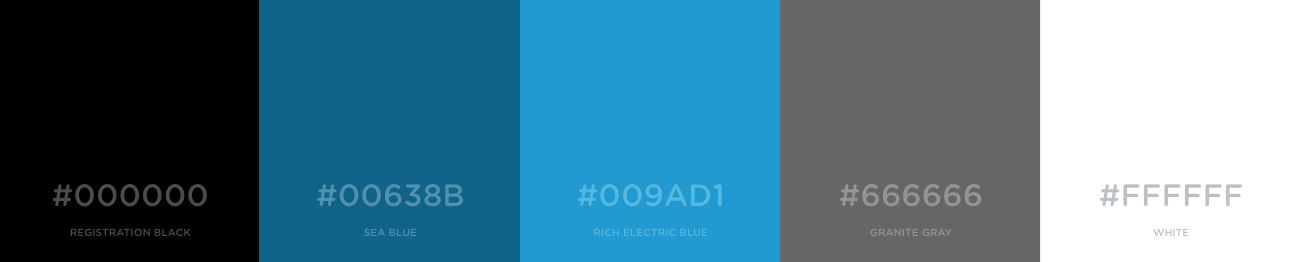
If you click OK, you’re redirected to the main screen where you can see your team color palette in all its glory, broken down into hexadecimal codes that you can write down and take back to WordPress.
Adding Help Links
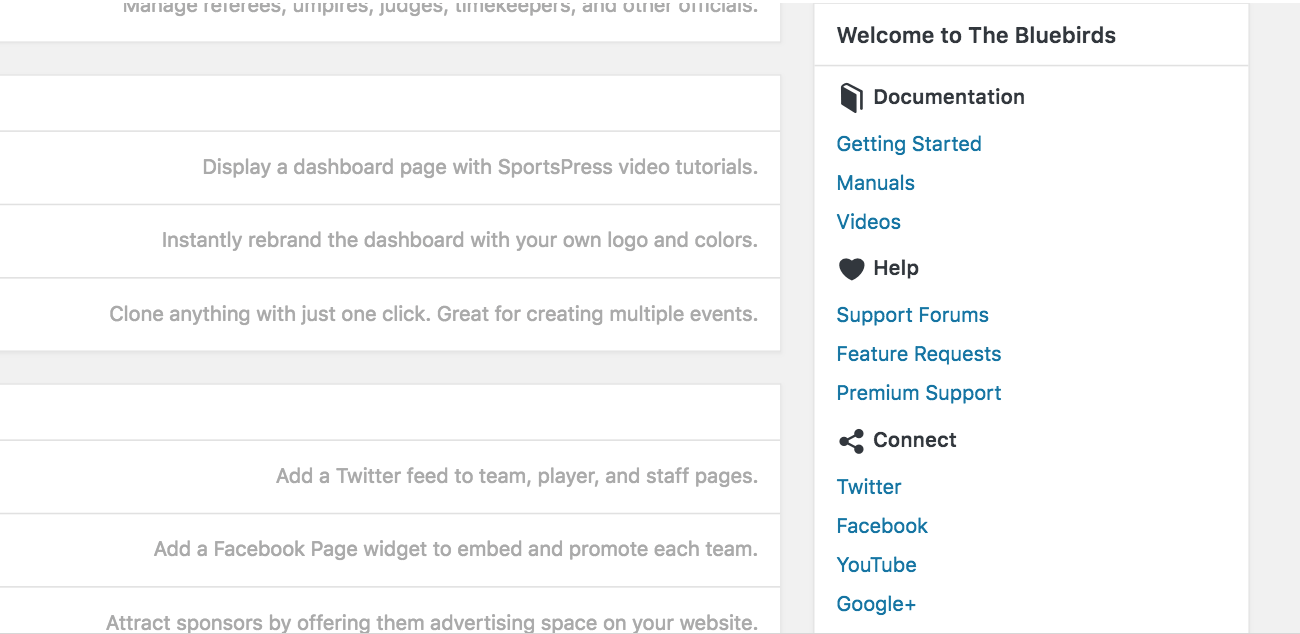
The final section of the Branding module page is the Welcome to area. There are a few options to add or remove support on the admin screen.
These settings apply to anyone who has access to the back end such as the administrator or other user roles that have access.

Check the Documentation box to provide links to manuals and tutorial videos for ThemeBoy themes, the SportsPress and SportsPress Pro plugins as well as extensions.
The Help checkbox gives access to the WordPress Support Forum for the SportsPress plugin, premium support and blog posts that detail how to use SportsPress to its fullest potential.
There’s also an option to submit a feature request for whatever you would like SportsPress to include in an upcoming update. You can share your idea with other users and help develop the best sports team plugin out there.
The Connect checkbox displays links to ThemeBoy’s Twitter, Facebook, Youtube, and Google+ profiles.
The Final Countdown
Adding a little more team spirit and sports branding to your routine doesn’t have to be difficult or take a lot of time. Now you’re well versed in some quick and simple ways to support your players on the back-end. Go team!
How do you plan on using your color scheme in your dashboard? What other sports branding features you would like to see implemented in SportsPress Pro? Did you run into troubles during the setup? Let us know on Twitter or Facebook.
