How to Create a Sports WordPress Website for Any Sport

If you want to create a sports WordPress website, it doesn’t get any easier than using SportsPress to do it.
The free SportsPress plugin can be used to create a robust and professional sports website with features like automatic league standings, equation builder, club, player and staff profiles, and other advanced features.
SportsPress comes with 19 built-in sports and e-sports you can choose from and five free plugins to add additional sports.
Not only that, but it also includes a custom option so you can set up SportsPress for any sport you can imagine—even one that hasn’t been invented yet!
Today, I’ll share more details on SportsPress as well as show you how to create a sports WordPress website from start to finish with SportsPress.
SportsPress for the Win
SportsPress is a free plugin available for download in the WordPress repository. Once it’s installed and activated, you can turn a single installation of WordPress into a burly and—ahem—athletic sports website.
With SportsPress, you can display stunning tables for statistics with photos of each player, league standings with team logos, event results and upcoming matches, player galleries, calendar and a ton more.
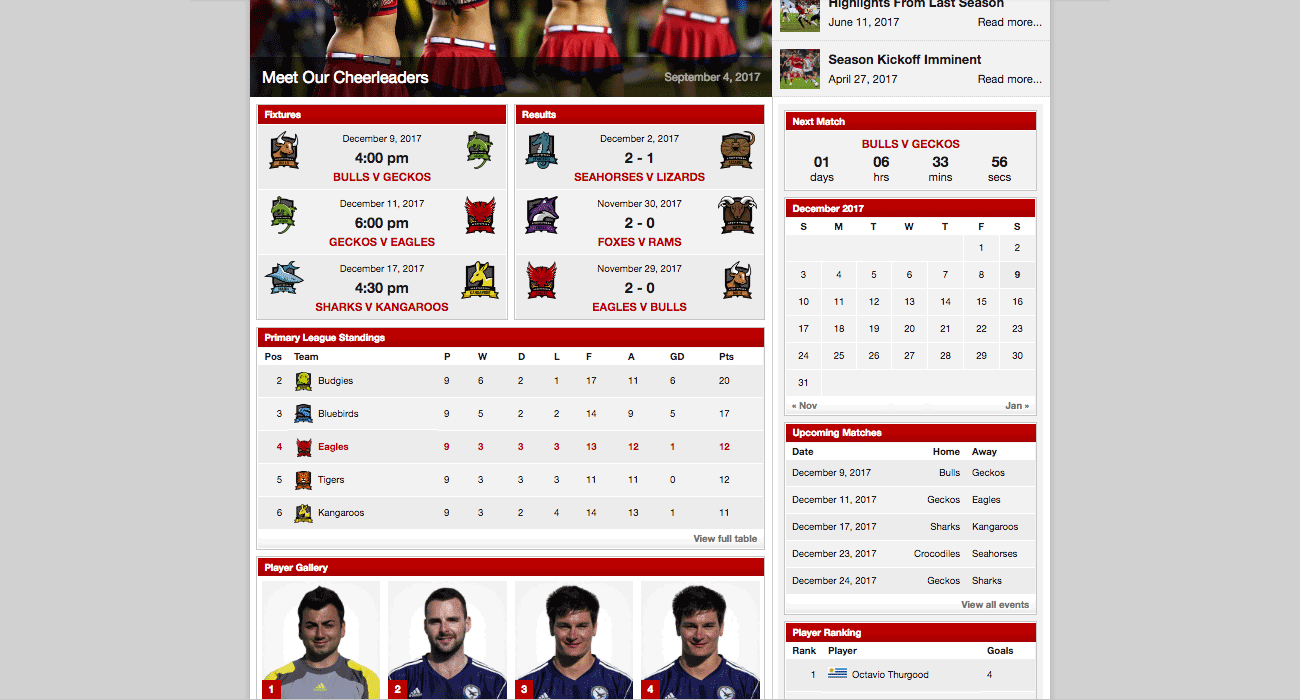
There are also a lot more features under the hood such as being able to set whether matches are player vs player or club vs club, it’s certified compatible with WPML, it integrates with iCal, you can accept membership dues with WordPay and that just scratches the surface.
You also have the option to upgrade for more features and capabilities.
For details and a full list of SportsPress features, check out Does Your Sports WordPress Website Really Need SportsPress Pro?
Below are details of how to install and set up SportsPress for any sport. You can also check out quite a few features in action.
Installing SportsPress
To get started, you need to have a WordPress site installed and set up. You can check out How to Start Building a Free Sports Club Website with WordPress for details.
Once that’s done, you can install and configure SportsPress on you WordPress site.
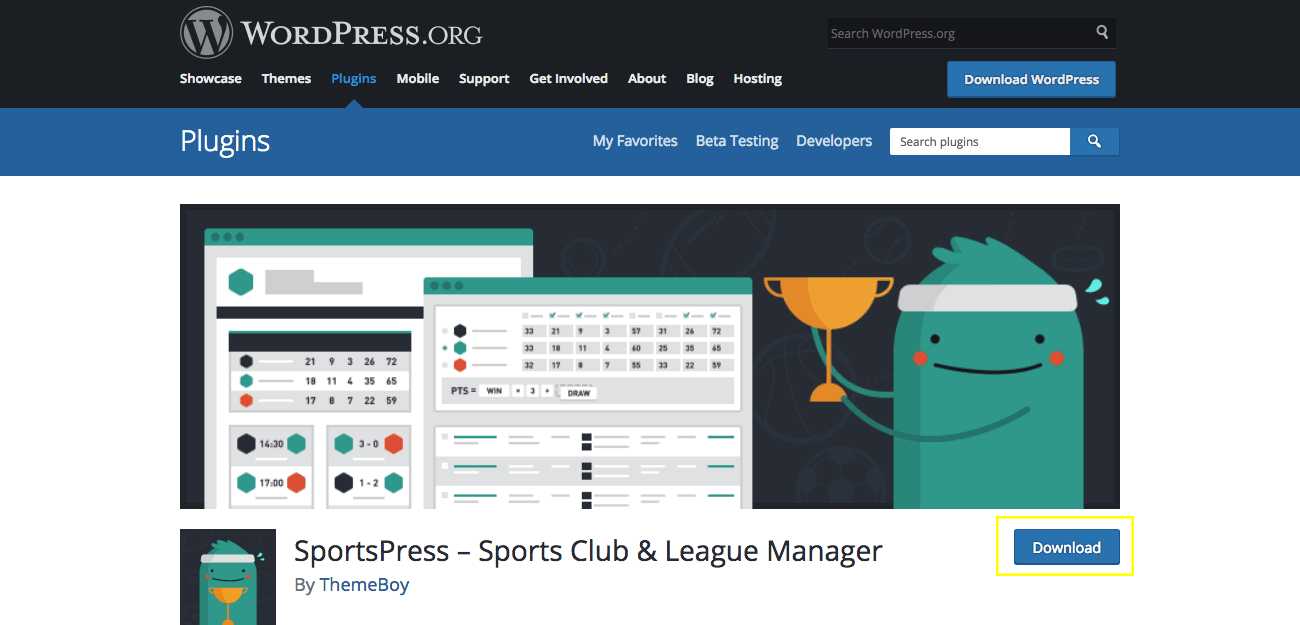
SportsPress installs like most other plugins in the WordPress.org plugin repository. There are two main options for installing them: manually through FTP and automatically.
You can download it directly from there, upload to your server via FTP, then activate it.
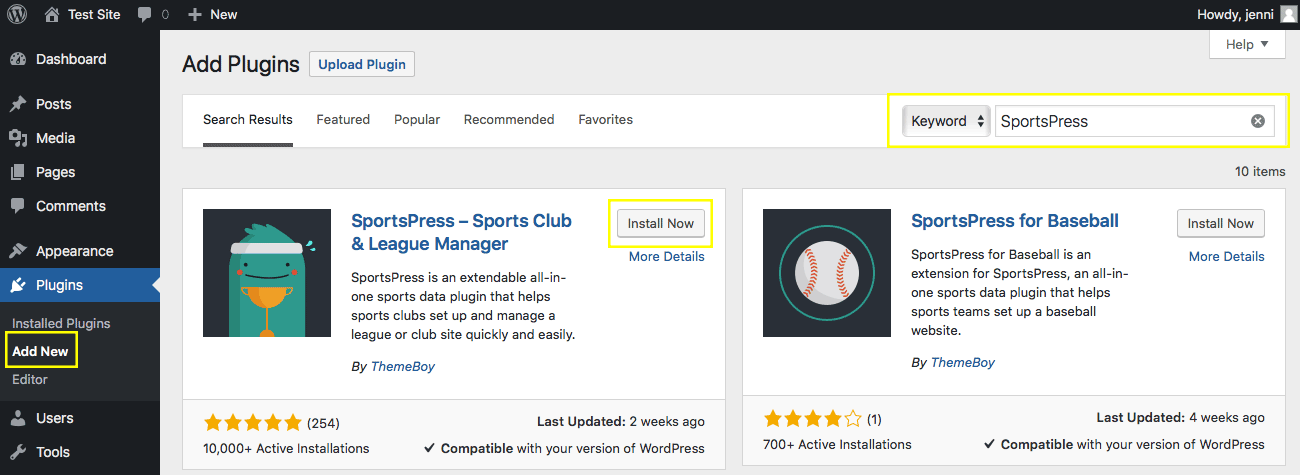
Alternatively, go to the Plugins > Add New page and type “SportsPress” in the search bar to the right, then click the Install button.
For details, check out SportsPress: Installation, Managing Plugins, Installing WordPress Plugins and the video below.
Setting Up Your Sports WordPress Site
Once you have installed and activated the SportsPress plugin, the setup wizard is activated and with it, you can create a SportsPress WordPress website and get up and running in just a few minutes—if that.
Getting Revved Up for the Setup
On the first page of the setup wizard, you can start by clicking Let’s Go! If you would prefer to come back to it later, you can click the Not right now link to get back to it at any time.
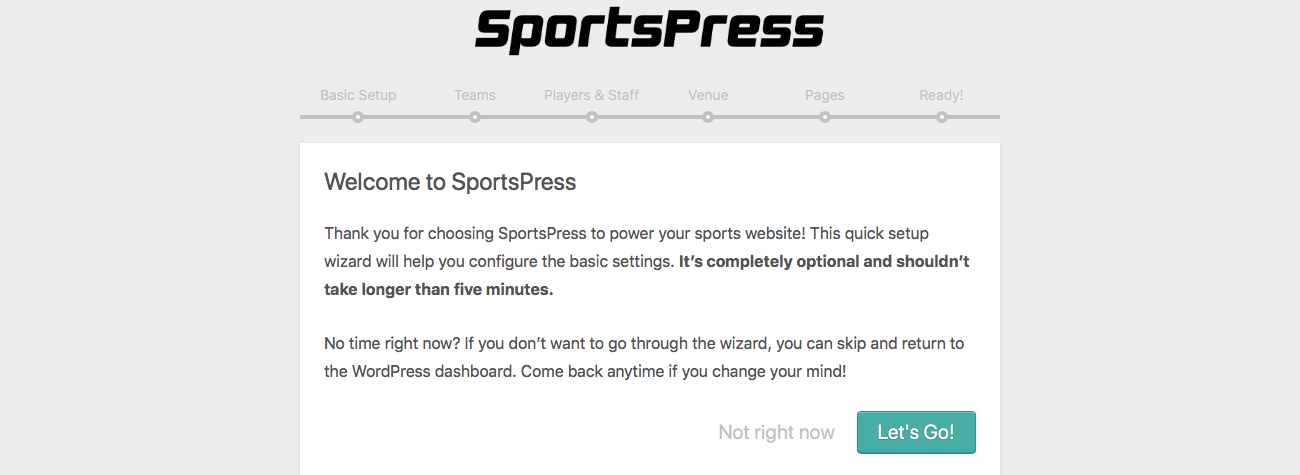
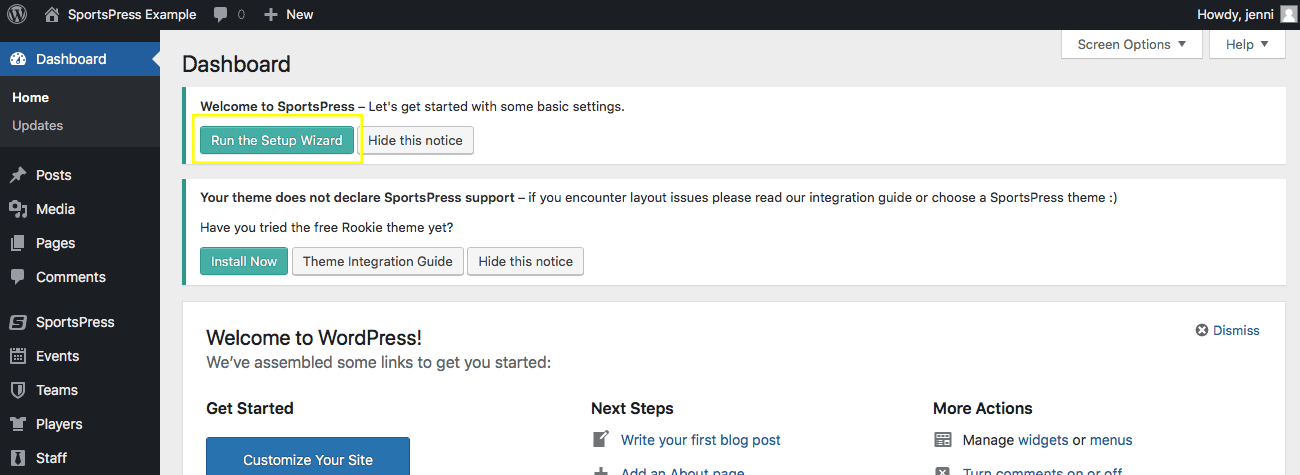
If you decide to skip the setup wizard, you should see an admin notice at the top of each page in your admin dashboard. When you’re ready, you can click on the Run the Setup Wizard button to start up again.
When you continue to the next screen, there’s a progress bar to let you know how far along you are in the quick setup process. There are five pages of settings and a final page with an option for the next step.
The first setup page is where you can select your time zone, the sport you want to use on your site, the name for your main league and of your current season.
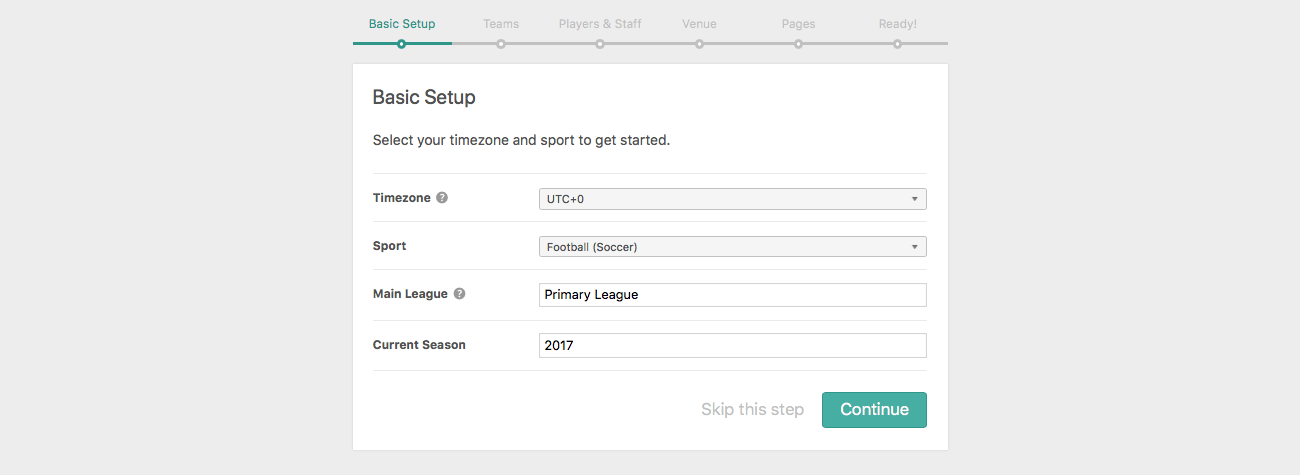
You can select the time zone dropdown box and scroll through a list of zones to choose or you can start entering one in the search box to quickly find the one you need.
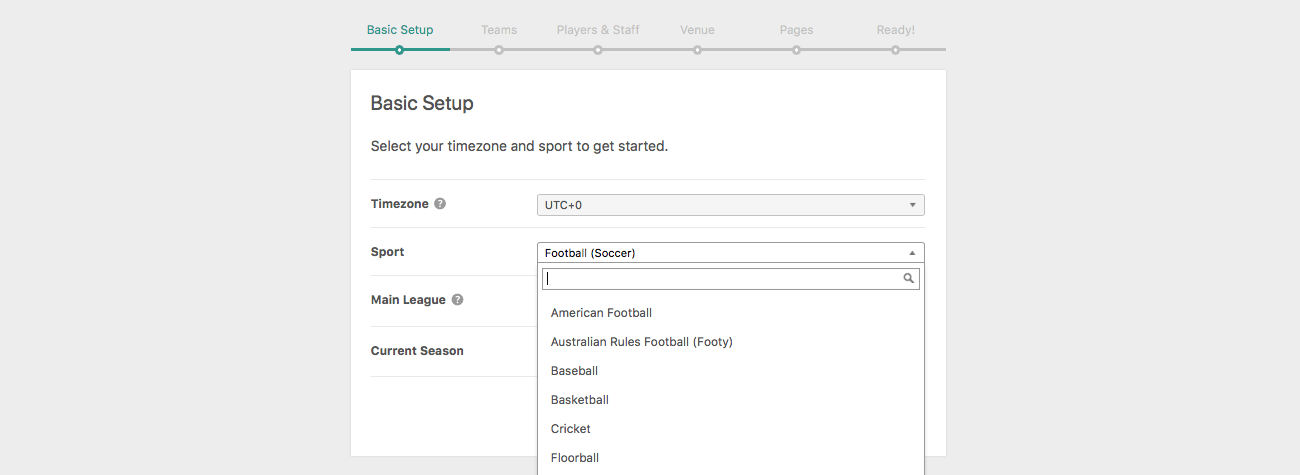
There’s also a search box you can use to quickly find the sport preset you want to use in the Sport dropdown box.
So Many Sports, So Little Time
The SportsPress plugin comes with 25 different options for sports presets that you can choose between:
- American Football
- Association Football (Soccer)
- Australian Rules Football
- Baseball
- Basketball
- Cricket
- Darts
- Golf
- Handball
- Ice Hockey
- Lacrosse
- Netball
- Rugby League
- Rugby Union
- Snooker
- Softball
- Squash
- Table Tennis
- Tennis
- Volleyball
- Water Polo
- Counter-Strike: Global Offensive
- Dota 2
- League of Legends
- Custom
With the Custom option, you can create your own equations to automatically calculate the score for any sport you want. So, even if you want to use SportsPress for a sport or e-sport that’s not listed above, you certainly can still do that.
For details, check out Creating an Automatic and Custom Scoring System for Any Sport.
It may also be important to note that the Baseball, Basketball, Cricket, Football (Soccer) and Golf presets also require an extra free plugin to be installed and activated. This is the case because the equations for the scoring system are a bit more complex so they’re included in a free plugin instead to keep the SportsPress plugin as lightweight as possible.
Each of these plugins can be installed like most other plugins that can be found in the WordPress.org plugin repository. You can follow the steps above for the SportsPress plugin to install and activate these extensions for your sports site as needed. Or, you can do it automatically after you install SportsPress and this is covered later on.
Quick Team Setup
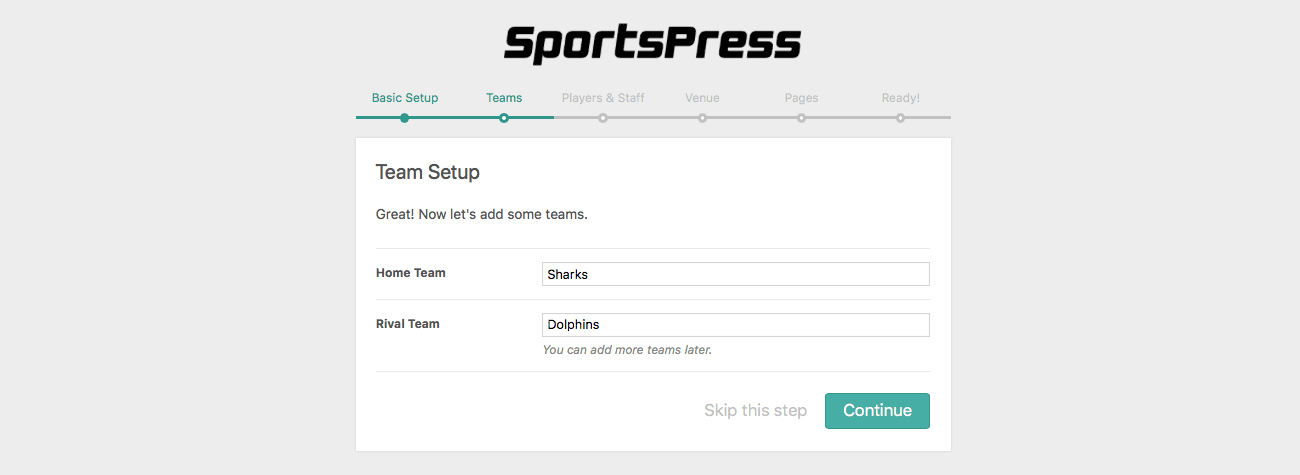
When you’re done filling out everything on the first page of the wizard, click the Continue button. On the next page of the setup wizard, you can specify the names of your first two teams.
You can add as many teams as you want later on, but for now, you can start by entering the name of the Home Team and Rival Team.
Adding a Few Players and Staff
When that’s all done, click the Continue button once again to keep going with the setup.
On the next page, you can add three players and their positions as well as one staff member. For now, you’re only adding a few of these folks. But, once the initial setup is complete, you can add as many players and staff members as you want.
If you’re not sure how to fill out the fields, you can hover over the question mark icon for a quick tip and details.
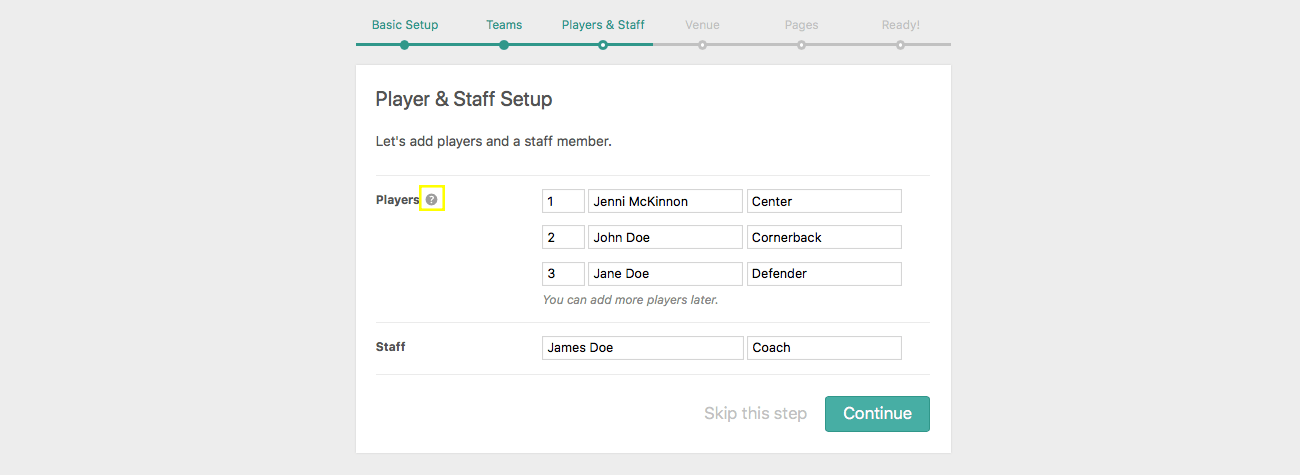
When you’re ready, click Continue yet again.
Choosing Your First Venue
Next up is setting up your first venue. Similar to the other steps before, you can add as many as you want later.
To add your first venue, enter its name in the corresponding field. This is the name your visitors see on your website so be sure it clearly represents the venue you have in mind.
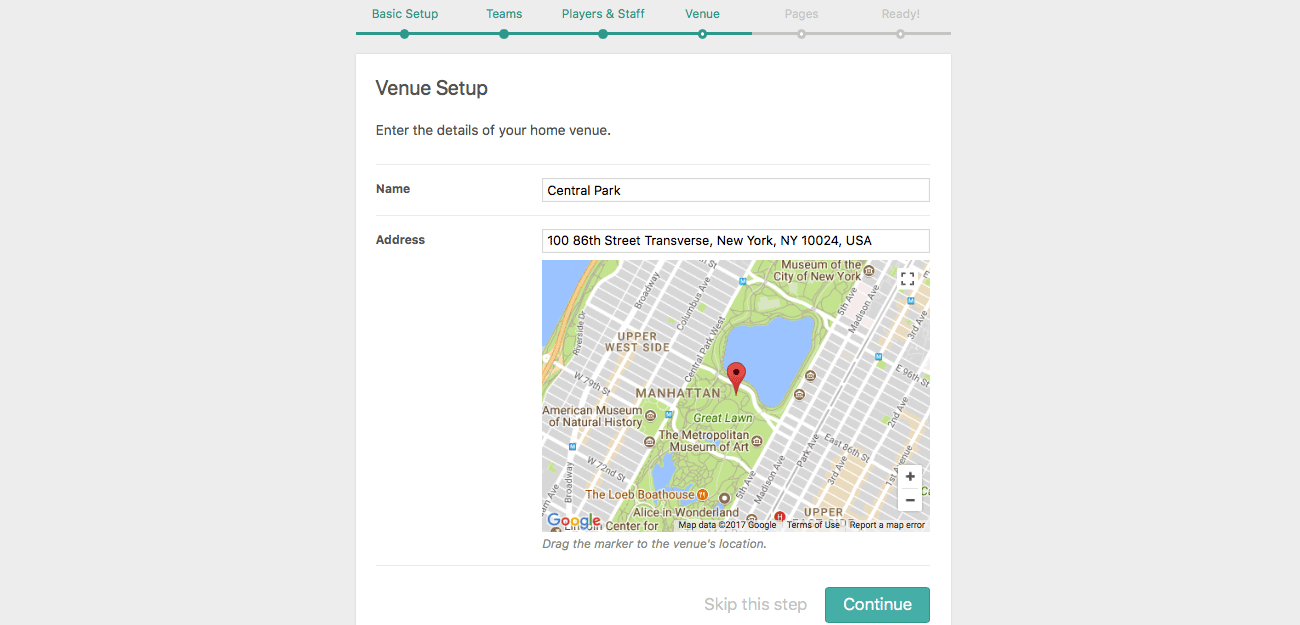
Then, in the Address field, enter the address of the venue, as you probably already have guessed. It’s connected to Google Maps so you can generate a precise address.
To do that, click on the Address field and type the name or address of your venue. Google will automatically generate the closest matches and when the right one is visible, click on it to select it.
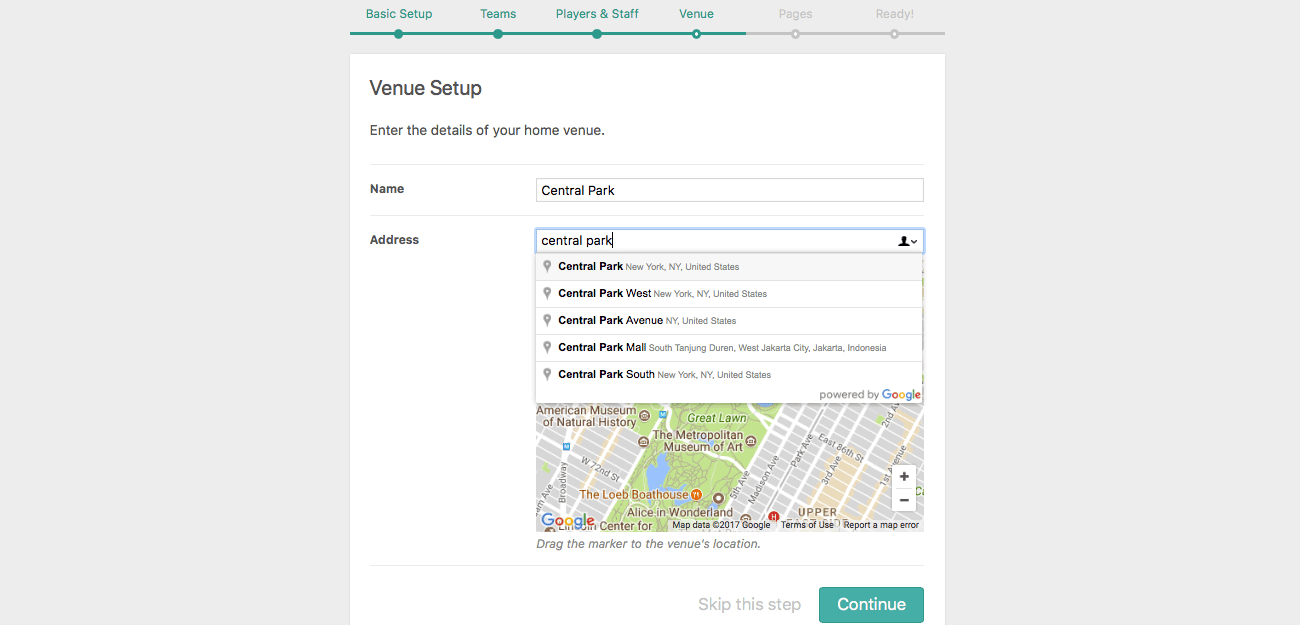
You can also click and drag the red marker to choose the location that best fits.
When you’re ready, click—you guessed it—Continue.
Automagically Create the Pages You Need
On the next page in the setup wizard, three pages are about to be created if you don’t already have them on your site: Calendar, League Table and Player List. These pages display many of the features SportsPress has to offer and once they have been created, you can manage them in your WordPress admin dashboard like you would for any other page.
If you don’t want to create these pages or at least not right now, you can click the Skip this step link. Otherwise, click the Continue button one last time. Just like magic, the pages you need are automatically created for you.

Wrapping Up the Set Up
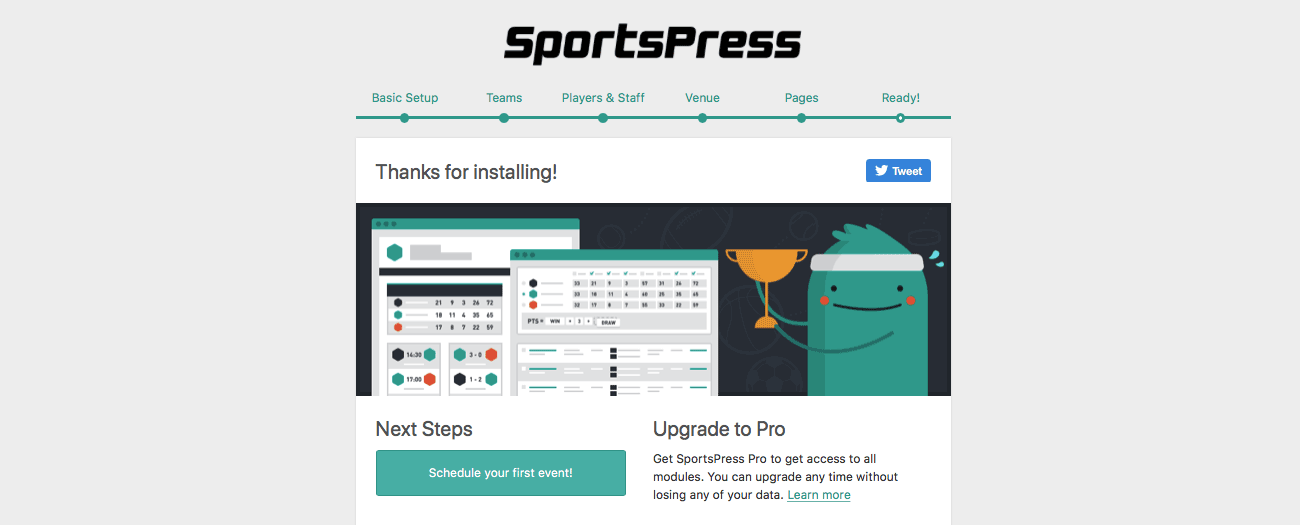
The final page of the setup wizard confirms that everything’s ready to go. At this point, the basics have been added and you can start customizing your new sports WordPress website.
Click Schedule your first event! to go to the editor for the first event that was automatically generated for you during the setup with the wizard. You can customize it as needed, then schedule the event when you’re ready.
If you want to know more about the tons of features and capabilities that become available if you upgrade, you can click the Learn more link.
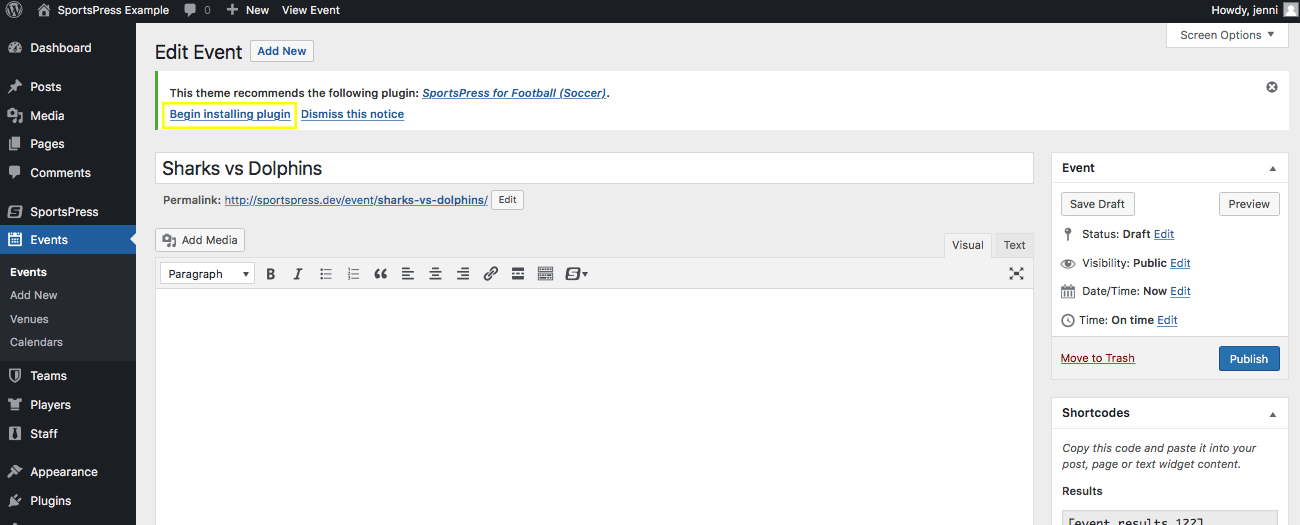
If you chose the Baseball, Basketball, Cricket, Football (Soccer) or Golf sports presets during the setup, you can manually install those. But why do that when you can do it automatically!
In the back end of your WordPress site, you can click the Begin installing plugin link in the admin notice to install the additional plugin you need in a couple of clicks.
Installing a WordPress Theme
With SportsPress, it’s instantly compatible with any WordPress theme, though, if you want to enhance the way features are displayed, you can customize your theme with a little code.
For the most professional and robust sports website you can imagine that even rivals the sites of popular national leagues, you can use a ThemeBoy SportsPress theme. They install like most other WordPress themes.
For details, check out How to Integrate SportsPress into Any WordPress Theme and How to Manually Install or Update a WordPress Theme.
Customizing SportsPress
Now that your new sports site has the basics set up, you can further customize it with more events, players, teams, staff and you can configure some additional options.
Here’s a breakdown of the sections added to your admin dashboard and where you can manage different parts of your sports site:
- SportsPress – Additional settings and configuration options live here.
- Events – You can add, edit and manage any number of events here.
- Teams – Teams can be added, edited and managed in this section. You can create as many teams as you want.
- Players – Similarly, you can create, edit and manage as many players as you want in this section.
- Staff – If you have any staff members you want to add, edit or manage you can do it here. Yes, the pattern continues so you can add as many staff members as you want.
You can also customize your website further as you would with any WordPress site.
Wrapping Up
You set out to create a sports WordPress website and now you have or you at least have all the steps outlined above to make quick work of it.
Were you able to successfully create a sports WordPress website of your own? What features would you like to see in SportsPress? Feel free to head over to our Twitter or Facebook pages and let us know.
