How to Launch a Basketball Website With Courtside
In today’s post we’ll show you how to launch a basketball website using our newest theme designed specifically with basketball teams in mind. Let’s get started!
How to Launch a Basketball Website with the Courtside Theme
This tutorial will cover the necessary steps to get the theme installed and setup properly on your WordPress website.
Download and Install the Theme
The first thing you will need to do is to download the theme either from your account area or by following the link provided in your confirmation email after you purchase the theme.

Once you have a copy of your theme, go ahead and log into your WordPress dashboard. Click on Appearance > Themes > Add New. Click on Upload Theme and then you will be presented with the screen where you can choose the file containing your theme. Click Choose file and locate the zip file of the theme that you just downloaded, then click Install Now.
After the theme has been uploaded, click on Activate link to activate the theme on your website.
Install & Activate SportsPress
In order to get the most out of your theme, you will also need to install our SportsPress plugin. If you purchased the Courtside bundle or SportsPress Pro, you can download the plugin from the account area. In this case, navigate to Plugins > Add new > Upload Plugin. Click on Choose file, locate the zip file of the plugin, and then click on Install. Once the plugin is installed, click on Activate.
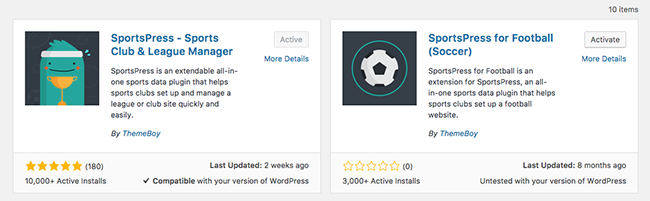
Alternatively, you can download the free version of the plugin from the official repository.
In this case, navigate to Plugins > Add new and search for SportsPress. Click on the Install and then the Activate button.
Article continues below…
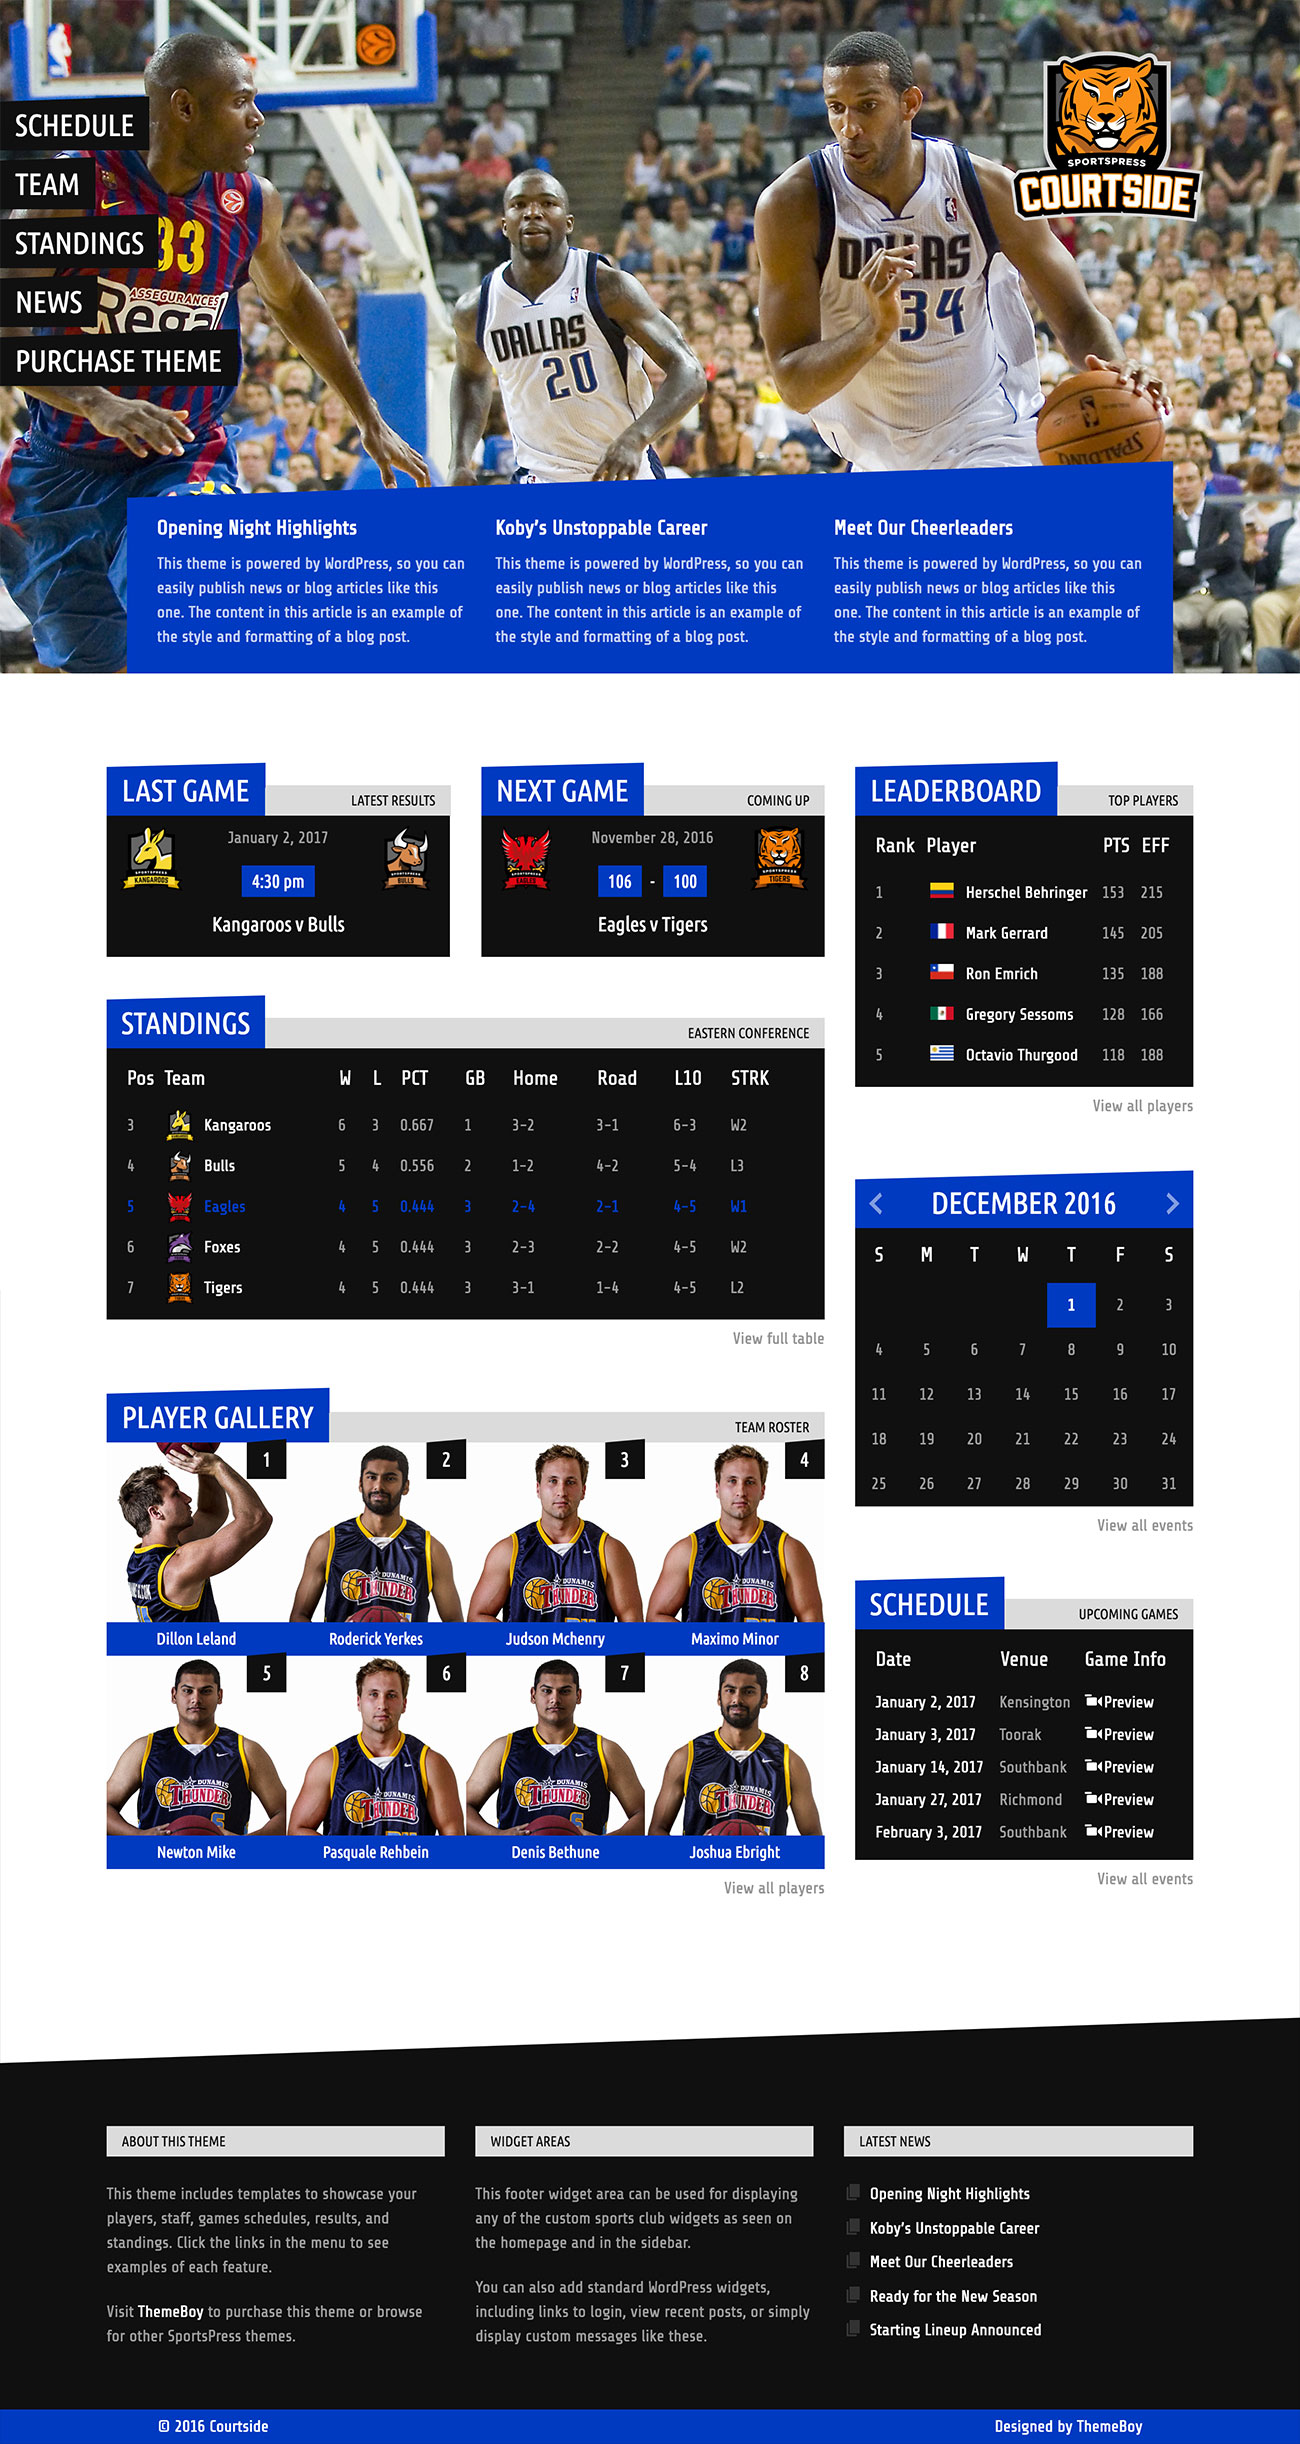
Now that the SportsPress plugin has been installed, you can easily add information about your basketball club such as Events, League tables, Players, and Staff. Each of these acts like a separate category which will help you organize your content. These items will be available in the left-hand side menu. To start adding your players, all you have to add is click on the Players and then Add new. Enter the desired information and when you’re done, click on Publish. Simply repeat this step for your events, teams, and staff.
Set Up the Homepage
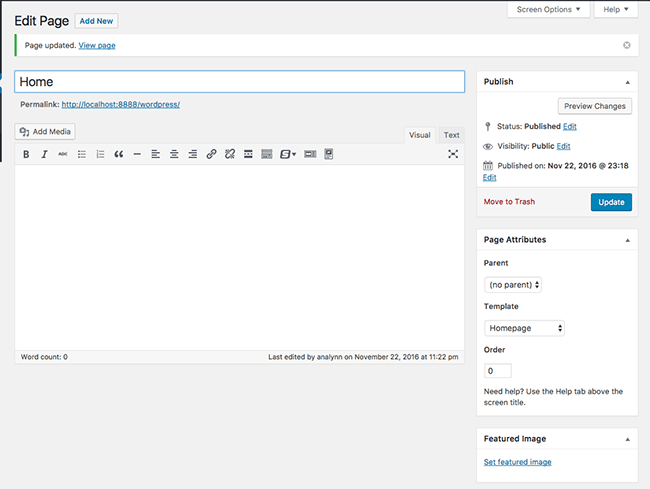
Once all your information has been entered, the next step is to set up your homepage. Go to Pages > Add New to create your homepage. Give it a name and change the template to “Homepage”. You don’t have to enter any content as we will use widgets to display the contents of our homepage. Click on Publish.
To set the front page of your website to the homepage you just created, go to Settings > Reading and change the Front page displays to “A static page” and then select the homepage you have just created. Click on Save changes.
Add Widgets to Your Homepage
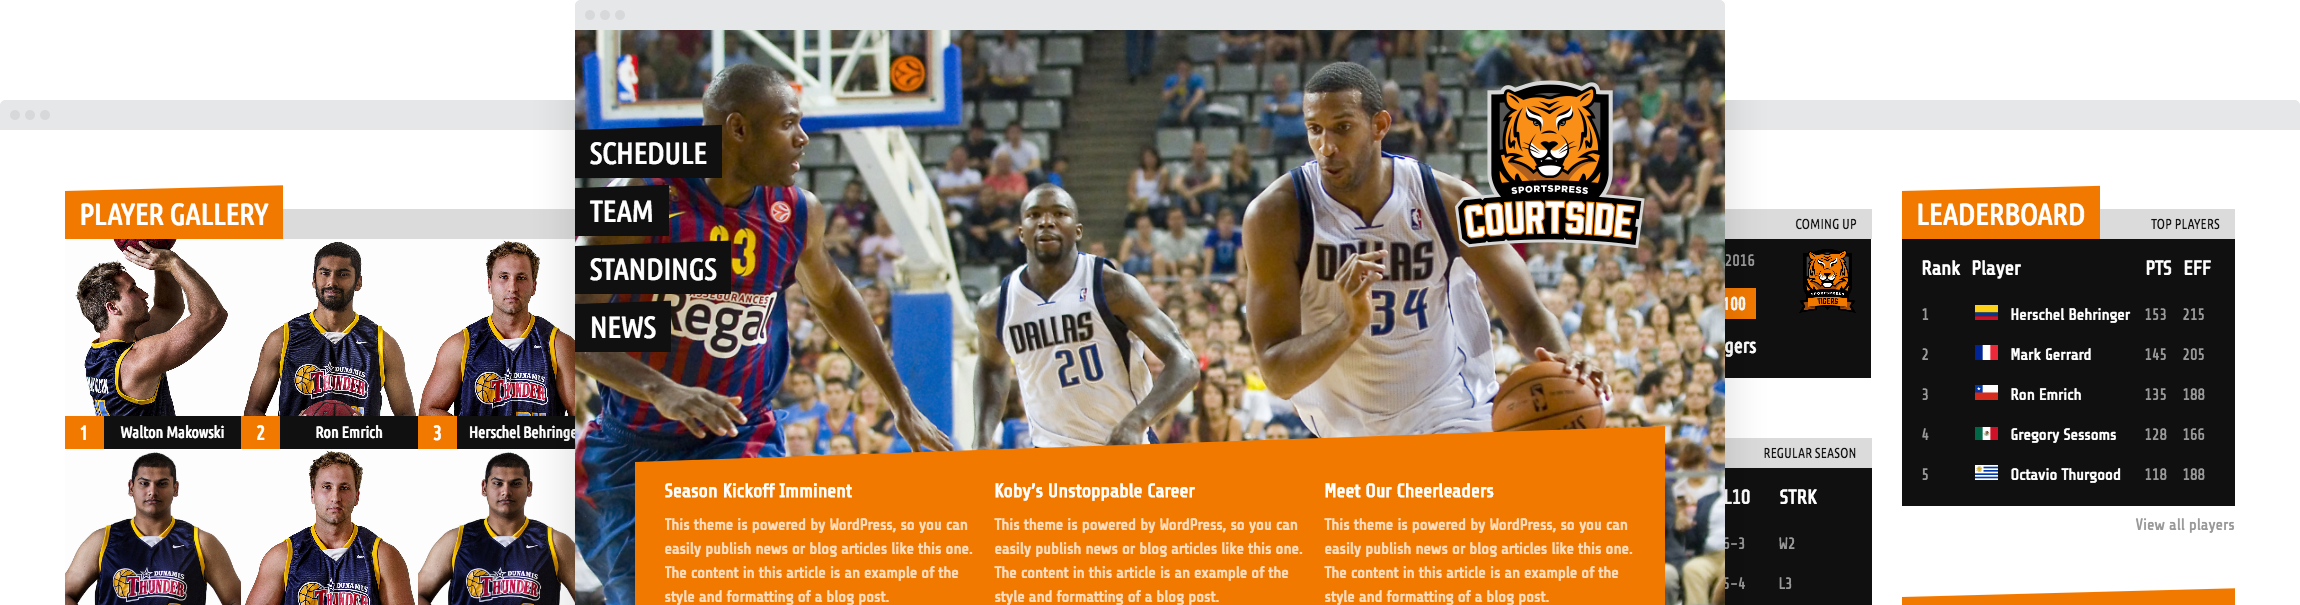
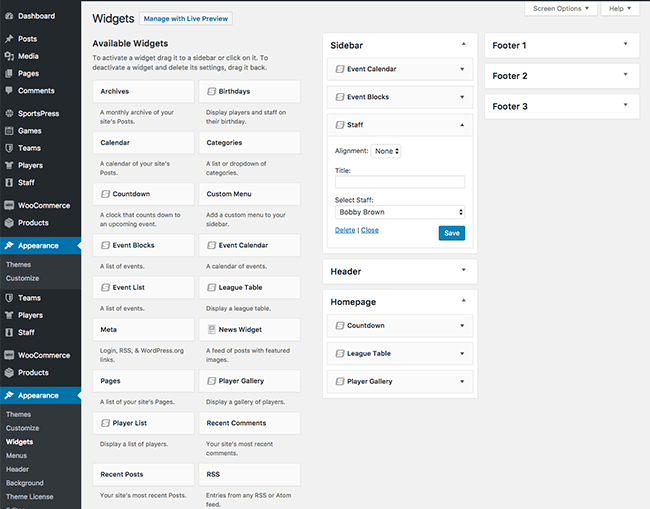
To display the contents of your homepage, navigate to Appearance > Widgets. As you can see from the screenshot, the theme offers several widget areas. For the purposes of this tutorial, I’ve added widgets to the Homepage and the Sidebar sections. You can also add widgets to the Header and Footer sections.
Customize the Appearance of Your Website
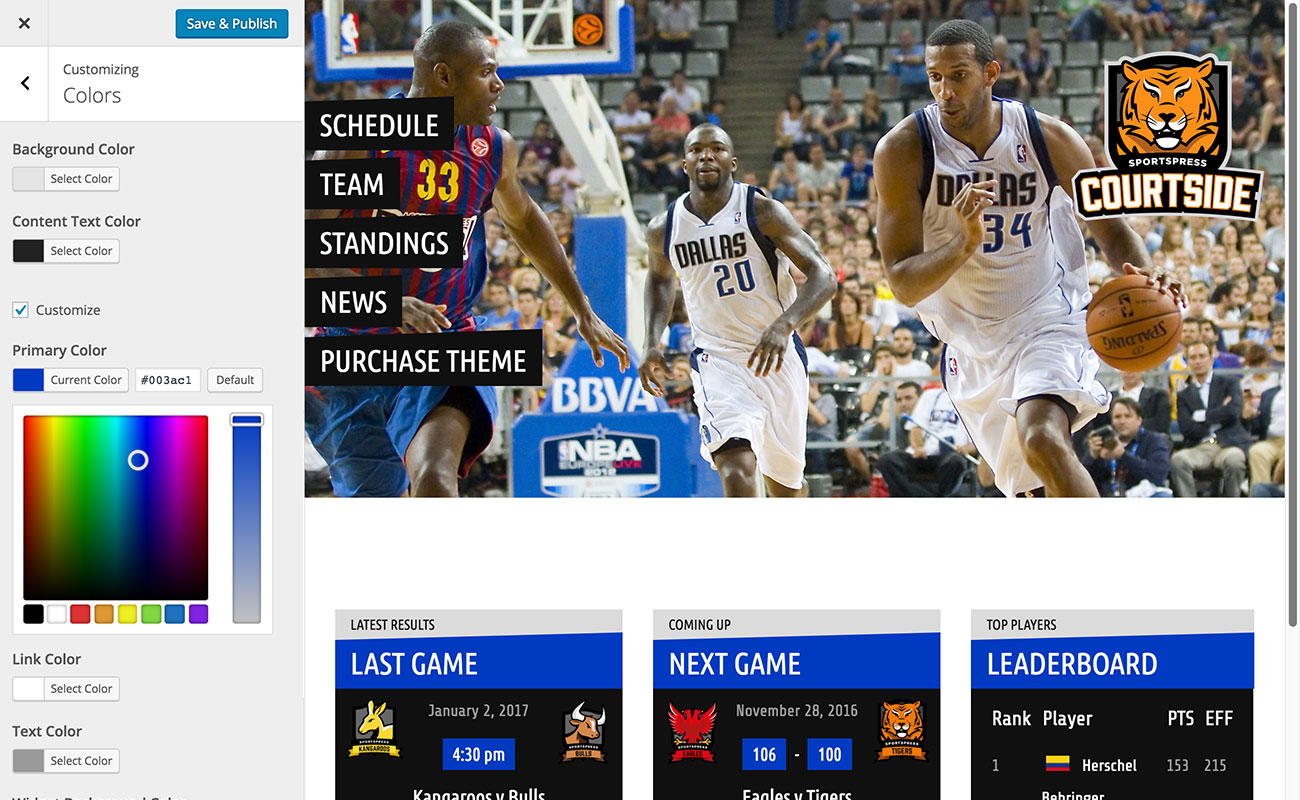
The next step is to customize the appearance of our website. Navigate to Appearance > Customize.
Once the screen loads you will be able to change the colors of your website, upload your own logo, favicon, as well as upload your own header and background images. In this instance, I’ve customized the color scheme:
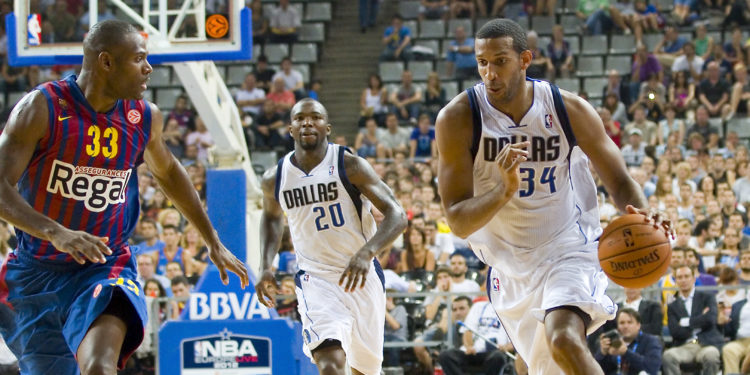
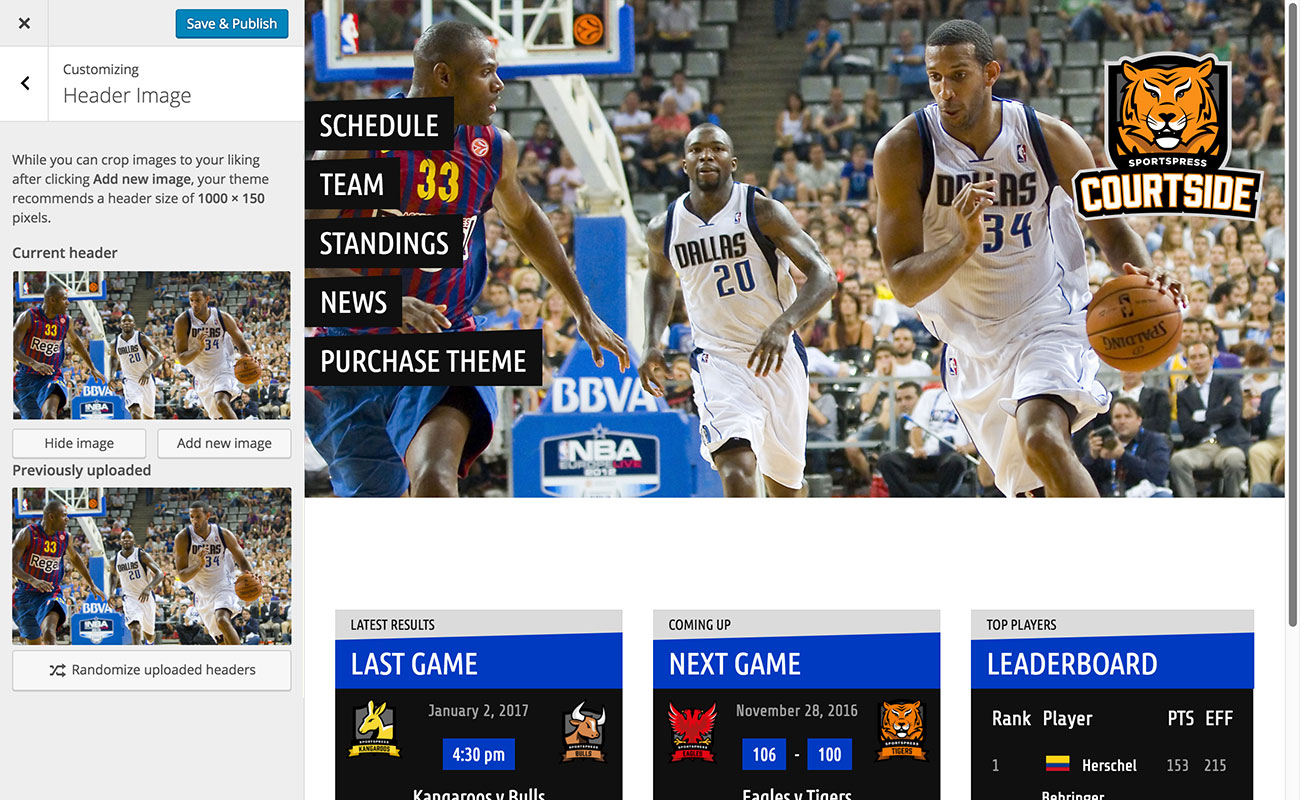
I also uploaded a custom header image which you can replace with an image of your own basketball team. To add your own header image go to Appearance > Header Image and click on Add new image. On the following screen, upload your own image from your computer. Click on Save and publish.
If you want to add your own background images, the process is the same as for the header image, only this time you will go to Appearance > Background Image.
Create a Custom Menu
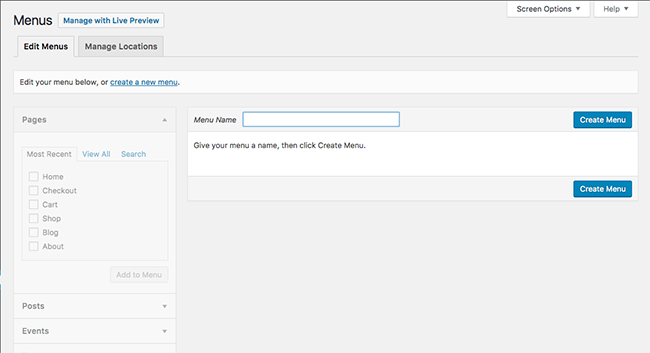
The last step is to create your own custom menu. Navigate to Appearance > Menus. Give your menu a name and then click on Create Menu button. Go to the Menu Settings and set it as the Primary Menu. Now all you have to do is add your pages and SportsPress post types that you would like to appear in your menu. Click Save Menu.
And that’s it! Now that your theme is all set up, your website is ready for the big launch.
Final Thoughts
Creating a website for your basketball team doesn’t have to be hard. Grab a copy of our Courtside theme to launch your own basketball website and don’t forget to download a list of 6 essential things your website should include.
