How to Build a Baseball Website With WordPress And SportsPress
So, you want to learn how to build a baseball website in WordPress, huh? Maybe for your own team, maybe because someone has hired you to do it. Either way, you have come to the right place.
Baseball is the national sport and a favorite pastime in the United States, where it originated. However, the sport is also popular in other countries, especially in South and Central America, the Carribean and East Asia, particularly Japan.
Like many other sports, you need to know how the game works to really appreciate it. As a Western European, I’ll be honest, I know very little about baseball. So, this article will not only be an opportunity for you to learn how to build a baseball site with WordPress but also for me to learn more about the sport.
Sounds good? Then let’s get started.
A Step-by-step Guide to Building a Baseball Website in WordPress
In the following, we will show you how to build a baseball website from scratch. All you need to get started is a fresh WordPress website. Should you not know how to set one up, this tutorial will help you figure it out. After that, you can move on to the first step.
1. Install SportsPress
For this tutorial we will be building our site with the SportsPress plugin. SportsPress is a handy piece of software that has all necessary features to easily build sports websites in WordPress.
In addition, it comes with a baseball extension that includes special functionality for baseball websites, making it the perfect tool for anyone building a baseball website for their team or club. For that reason, out first step is to install SportsPress.
To do so, go to Plugins > Add New and search for its name. It will usually show up in first place of the results.
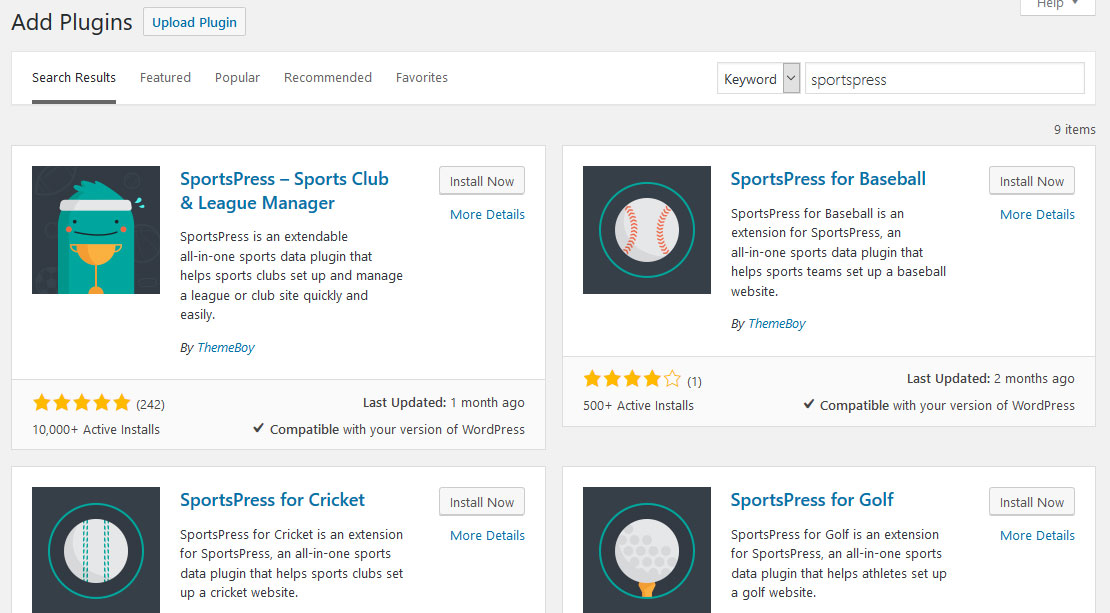
Right next to it, you can also already see the baseball extension. If you want, you might install it at the same time as SportsPress. However, you don’t have to as the plugin will do it automatically when you choose to build a baseball site.
2. Start the Plugin Configuration
Once you activate SportsPress, you will automatically be confronted with an onboarding wizard.
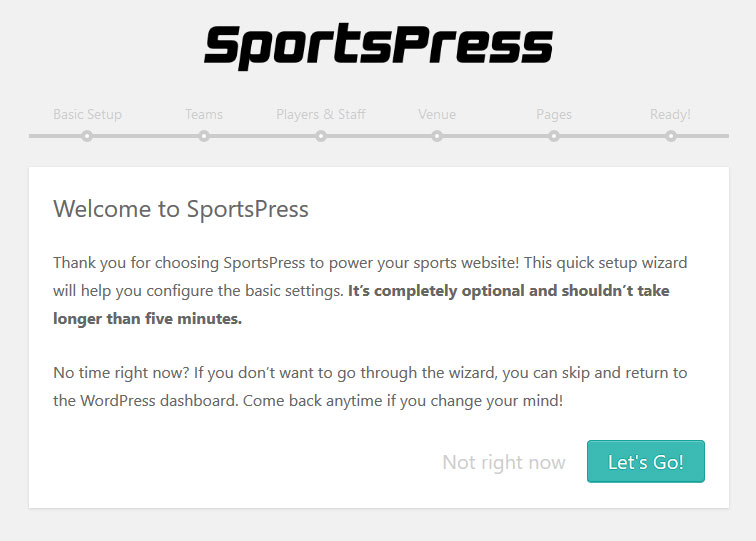
It will help you set up the most important parts of your site. Click Let’s Go! to get started.
3. Configure Time Zone, Sport, League and Season
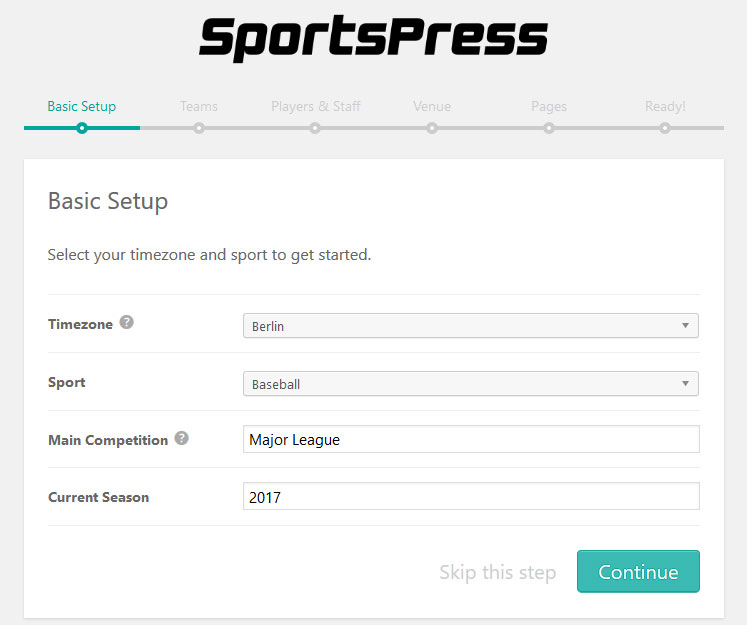
In the first step, pick your time zone. After that, use the drop-down menu under Sport to choose Baseball. Then pick the name of your league or division and current season. The latter will automatically be filled in with the current year. Click Continue when you are done.
4. Configure Team Settings
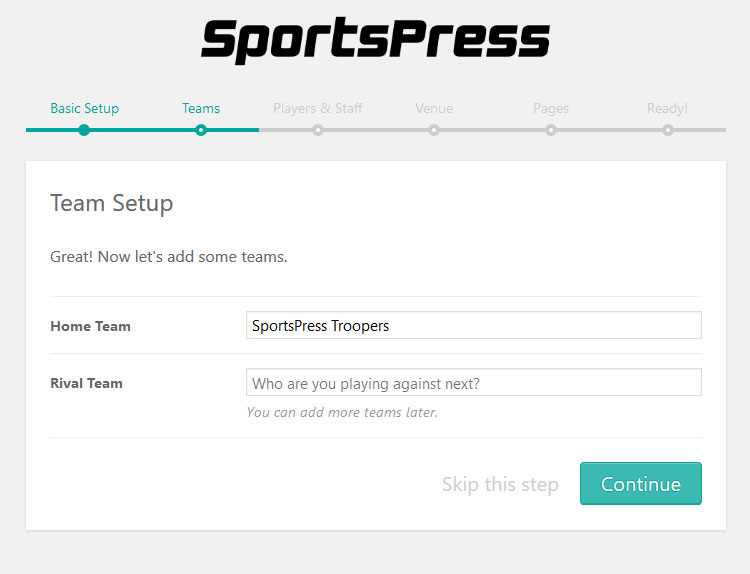
Now, it’s time to set up teams. The first one will be your own. Just enter the name in the respective field. You can also set up one of your rival teams.
The latter is completely optional. If you wish, leave the field blank and add more teams later on as you fill out the roster of your division. Again, continue on to the next step when you are done.
5. Set Up Players and Staff
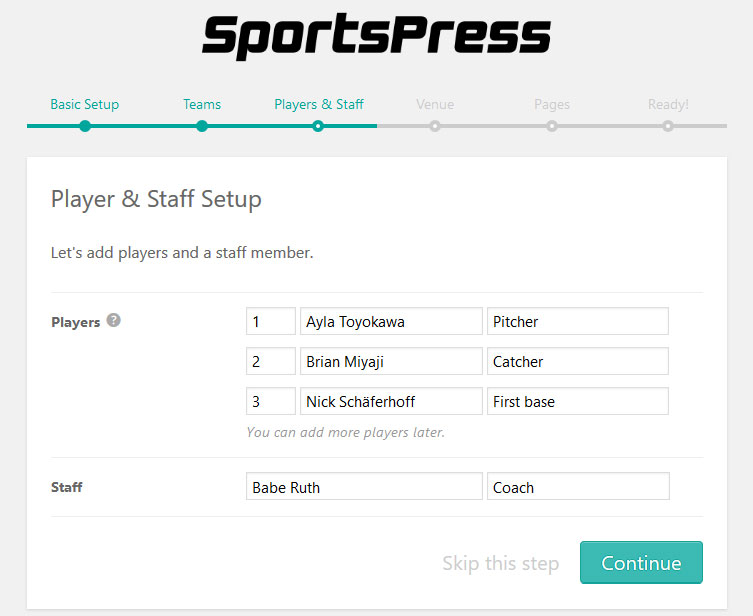
In this next screen, you can create your first few players and staff. Determine their starting numbers, names and positions (you will notice that because you chose baseball as your sport earlier, the plugin automatically filled in baseball positions in the respective fields). Further below, you are able to do the same with the first member of your staff.
6. Create a Venue
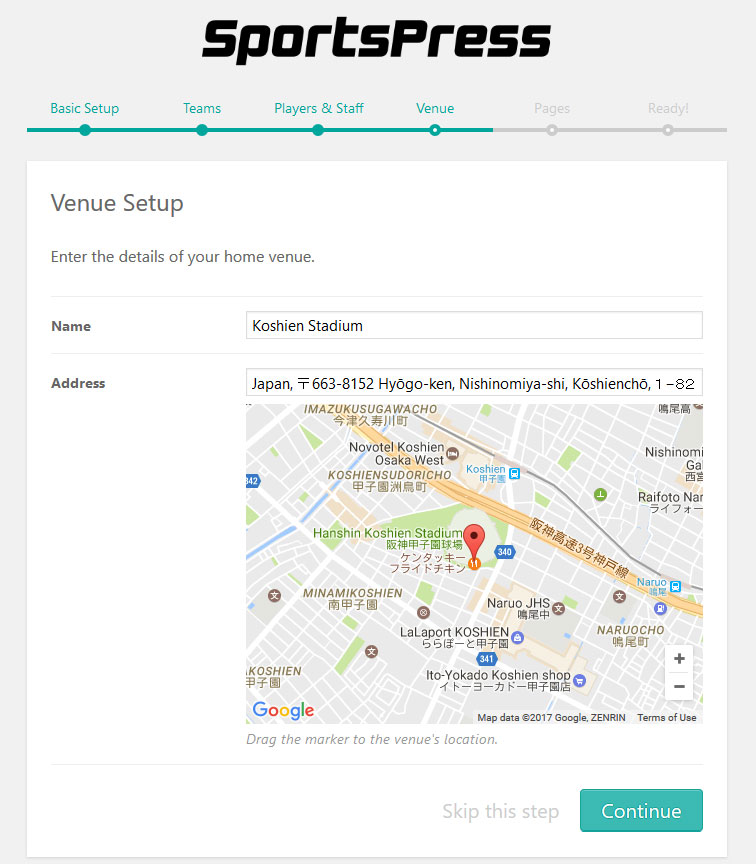
Now it’s time to set up your home venue. To do so, first put its name at the top. In the next line, enter the address. When you do, you will notice that the plugin will automatically search it on Google maps. If you are not entirely satisfied with the map position, you can also drag and drop the marker to the correct place. Then it’s on to the next step.
7. Set Up Pages and Finalize Configuration
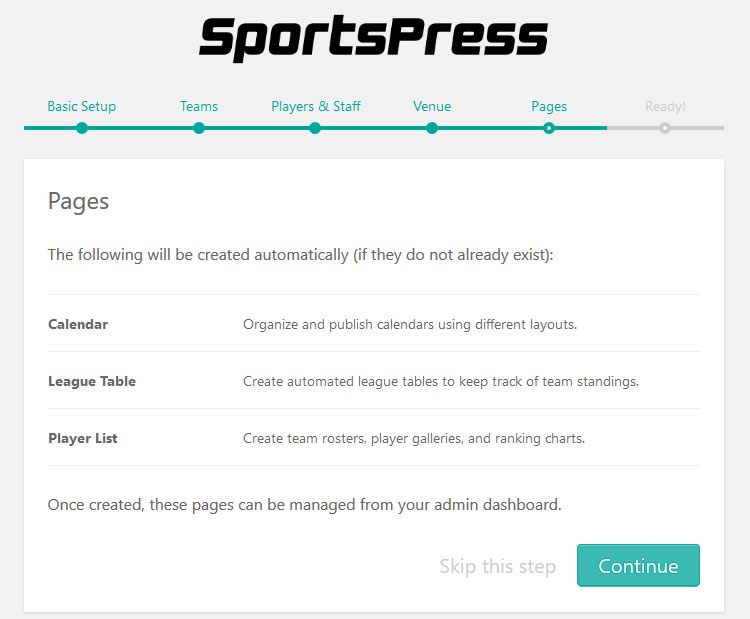
This screen only tells you which pages the plugin will create once you click Continue. Nothing really to do here except read through the text and keep going to the final screen.
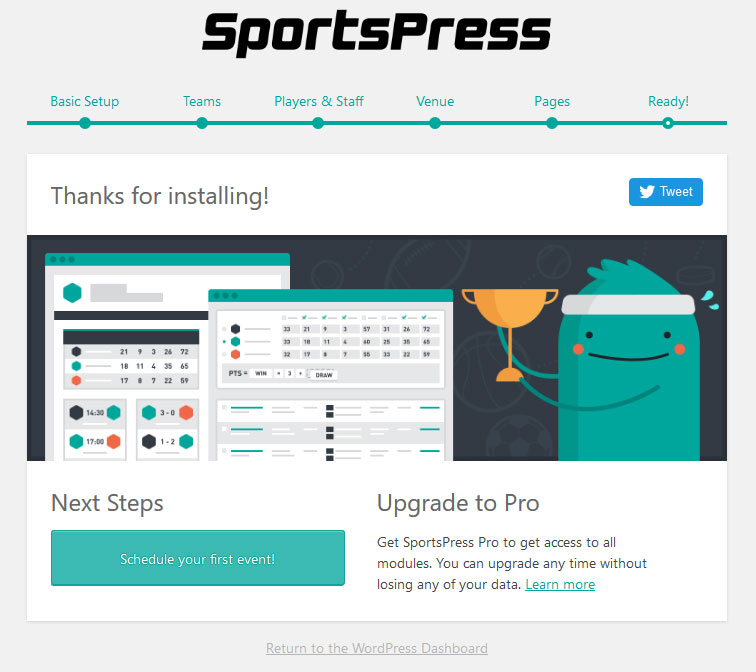
From here, you are able to schedule your first event (not necessary as we will do that further below) or just click on the bottom link to return to WordPress dashboard. We will decide on the latter for now.
8. Install the Baseball Extension
Once you go back to the dashboard, you will see this hint at the top of the screen, prompting you to install the SportsPress baseball extension.

When you click Begin installing plugin, it will take you to the following screen. Here, you can get the extension onto your site by clicking Install.
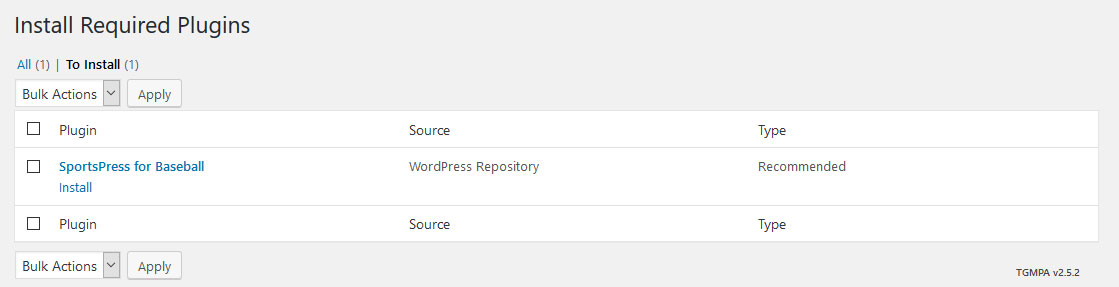
When you do, the baseball extension is also automatically activated.
Optional: Install a SportsPress-Optimized Theme
The SportsPress plugin works with any theme. That means you can build a sports website with pretty much any design you want. However, some themes may need a bit of customization to work properly.
For that reason, we also offer themes that have been especially built for SportsPress. The theme in this tutorial is the free Rookie theme. For more, check our other SportsPress-optimized themes.
Again, this is totally optional. If you are happy with your current theme, feel free to use that one instead. You might just might need a little bit of CSS here and there to make everything look flush.
A Quick Overview Over SportsPress
Once you are done with the installation wizard, you have already completed most of the work needed to set up a sports website and know the basic functionality of the plugin. Of course, the plugin has more options and we will give a quick overview of it now.
Competitions
In the main SportsPress menu, you find options for competitions.
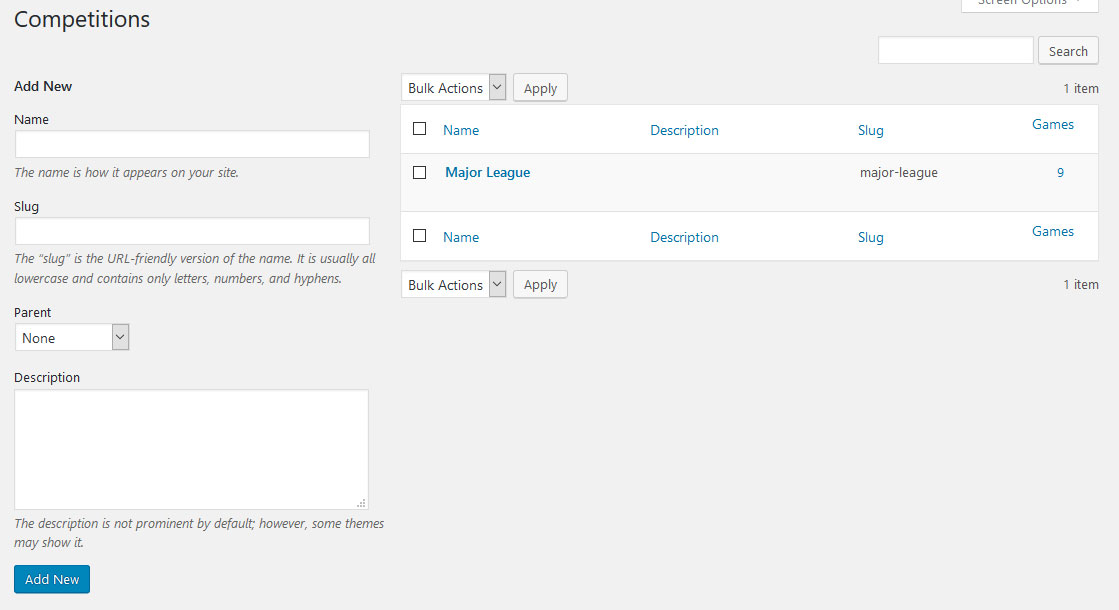
Here, you can see the competition you already created in the beginning. You also have the possibility to edit its name, slug (permalink), description or introduce parent-child relationships. The latter is if you have several divisions inside one bigger competition.
The same options are also available on the left for brand new competitions. Just enter the necessary information and save to create one.
Seasons
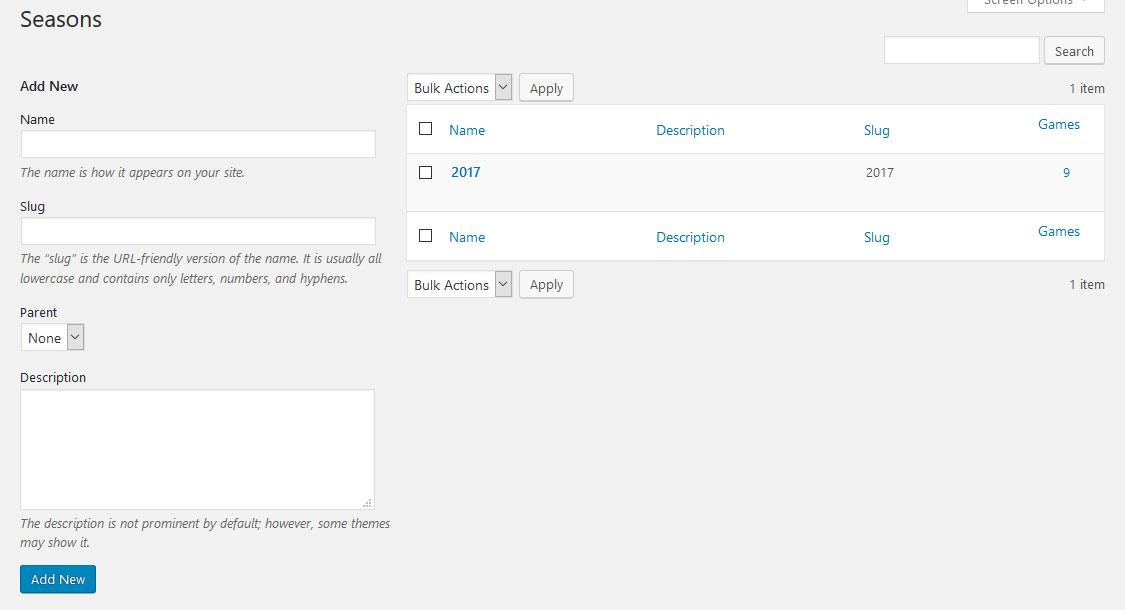
Right below Competitions you find the options for seasons. They look basically the same as the ones for competitions and also have the same settings, so you should have no problem figuring this part out.
Teams
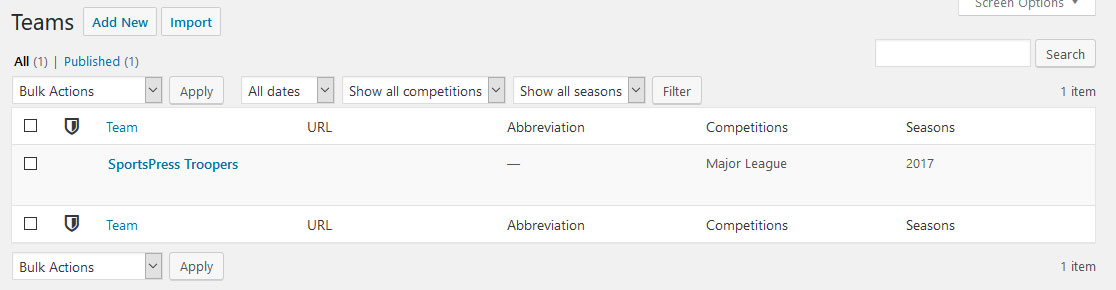
We are skipping the entire Games menu item for now as we will deal with it later . Therefore, our next goal is Teams. In this menu, you will find the teams you created in the onboarding process. By clicking on them, you can change any of their details. However, if you did everything right in the beginning, there should be no need for that now.
Players
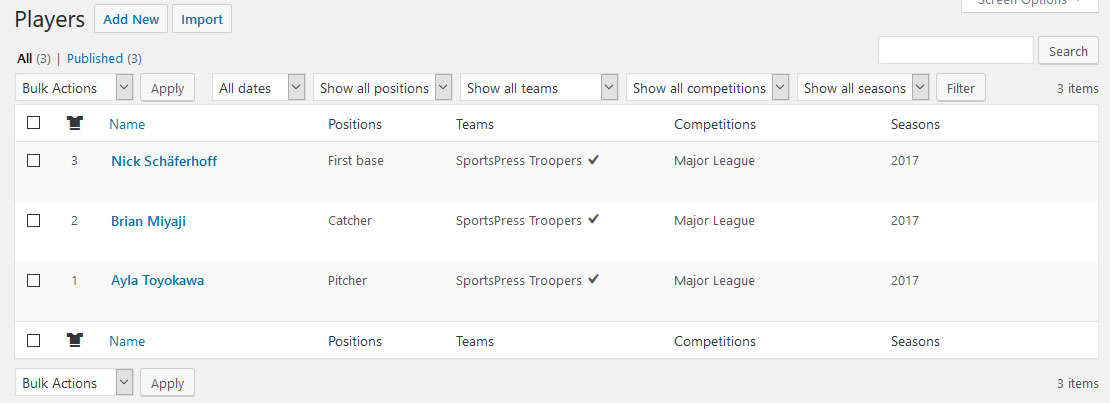
On to Players, where you find a list of players present on your site. You can edit their profiles or create new ones by clicking Add New on top. Both will take you to this screen:
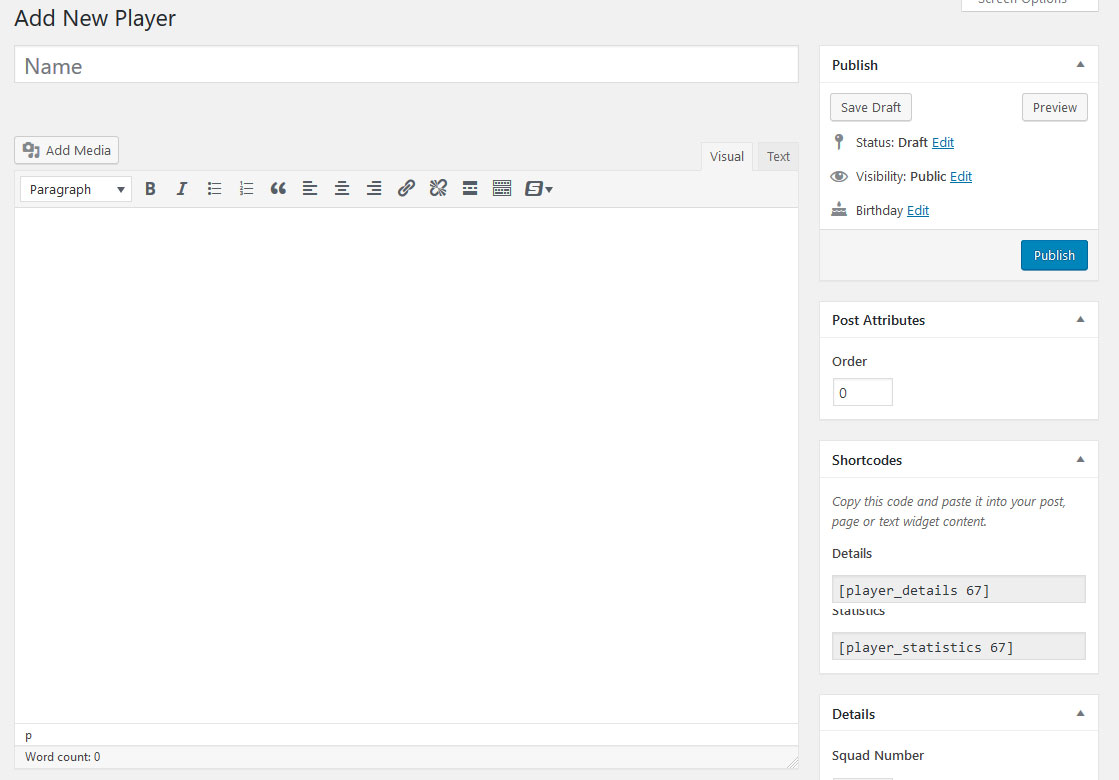
The screen has a lot of options but for starters all you need to do is fill in a name at the top. Adding a description below is optional but important when you set up player profiles.
One of the most important parts is the Details panel. It contains all the info about the player like squad number, nationality, past and current teams as well as seasons and competitions the player was or is active. Below that you can also add some metrics and a player photo.
When you are done, a click on Publish finalizes the player creation. Now let’s create a player list in order to add him or her to a team.
Player Lists
Unsurprisingly, options for player lists are found under Player Lists. Click Add New, enter a name, choose a layout and what columns and metrics you want to to display in player lists.
After that, don’t forget to fill in Details! This panel determines who is in the list and other important settings:
- Heading — Option to give the list to a different title than the page title
- Competition — Choose competitions to pull players from
- Season — Same as above but for seasons
- Position — Limit the players on the list by the position they play (optional)
- Team — Select a team to pick players from
- Grouping — Choose whether or not to group players by positions
- Sort by — The order players are shown in
- Sort order — Display players in ascending or descending order
- Players — Add players to the list automatically or manually
- Display – Number of players to show on the list
If you want to pick players manually, you have to save the list as a draft first and then pick the players in the Details panel. Otherwise, you can just publish it and you are done.
Positions
In the Players menu, you also find Positions.
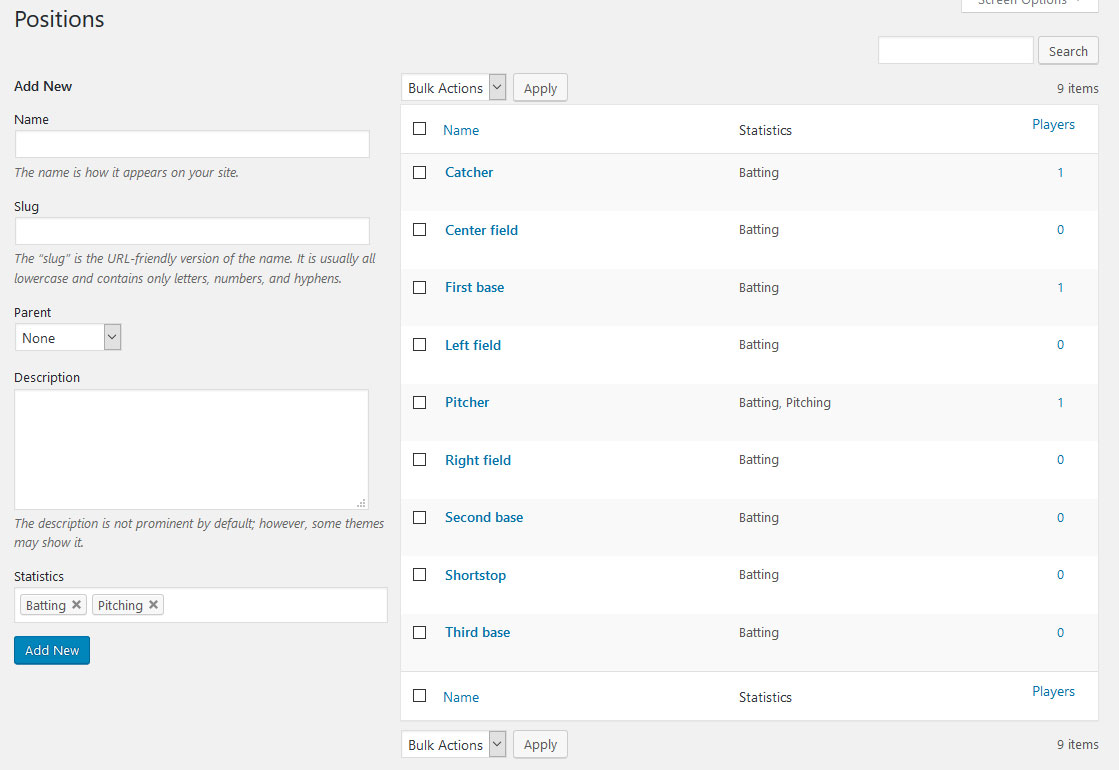
This menu allows you to create and edit positions. It is already filled in with valid baseball terms. Consequently, there is not much to say here as it basically works like seasons and competitions.
Staff
What Players is for players, Staff is for other members of your team.
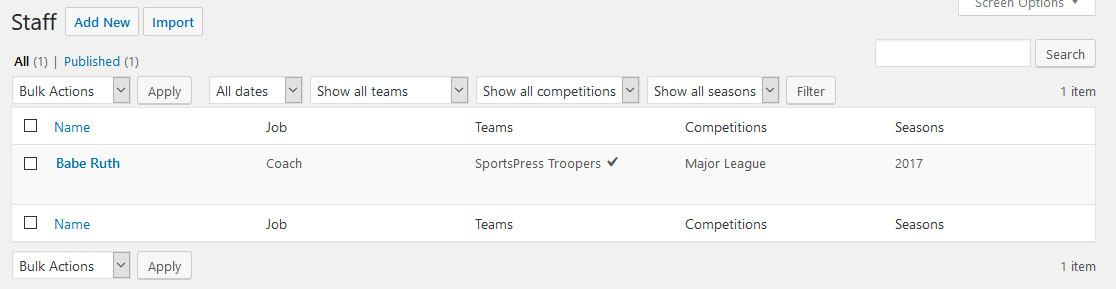
The menu shows you the staff members listed for your club and allows you to add additional ones. Everything basically works the same as creating players. The same goes for the Jobs menu that fulfills the same functionality as Positions for players.
Venues
Under Games, you find the Fields menu. Here, you can set up new venues or edit existing ones. We have already done this in the beginning, so you should not run into any problems here.
How to Set Up a Game for Your Baseball Website
One of the most important tasks when running a baseball site (or any other sports site) is setting up games. After all, that’s what fans care about the most, isn’t it? For that reason, we will go over this in more detail.
Fortunately, SportsPress makes this really easy. Just go to Games > Add New to get to this screen:
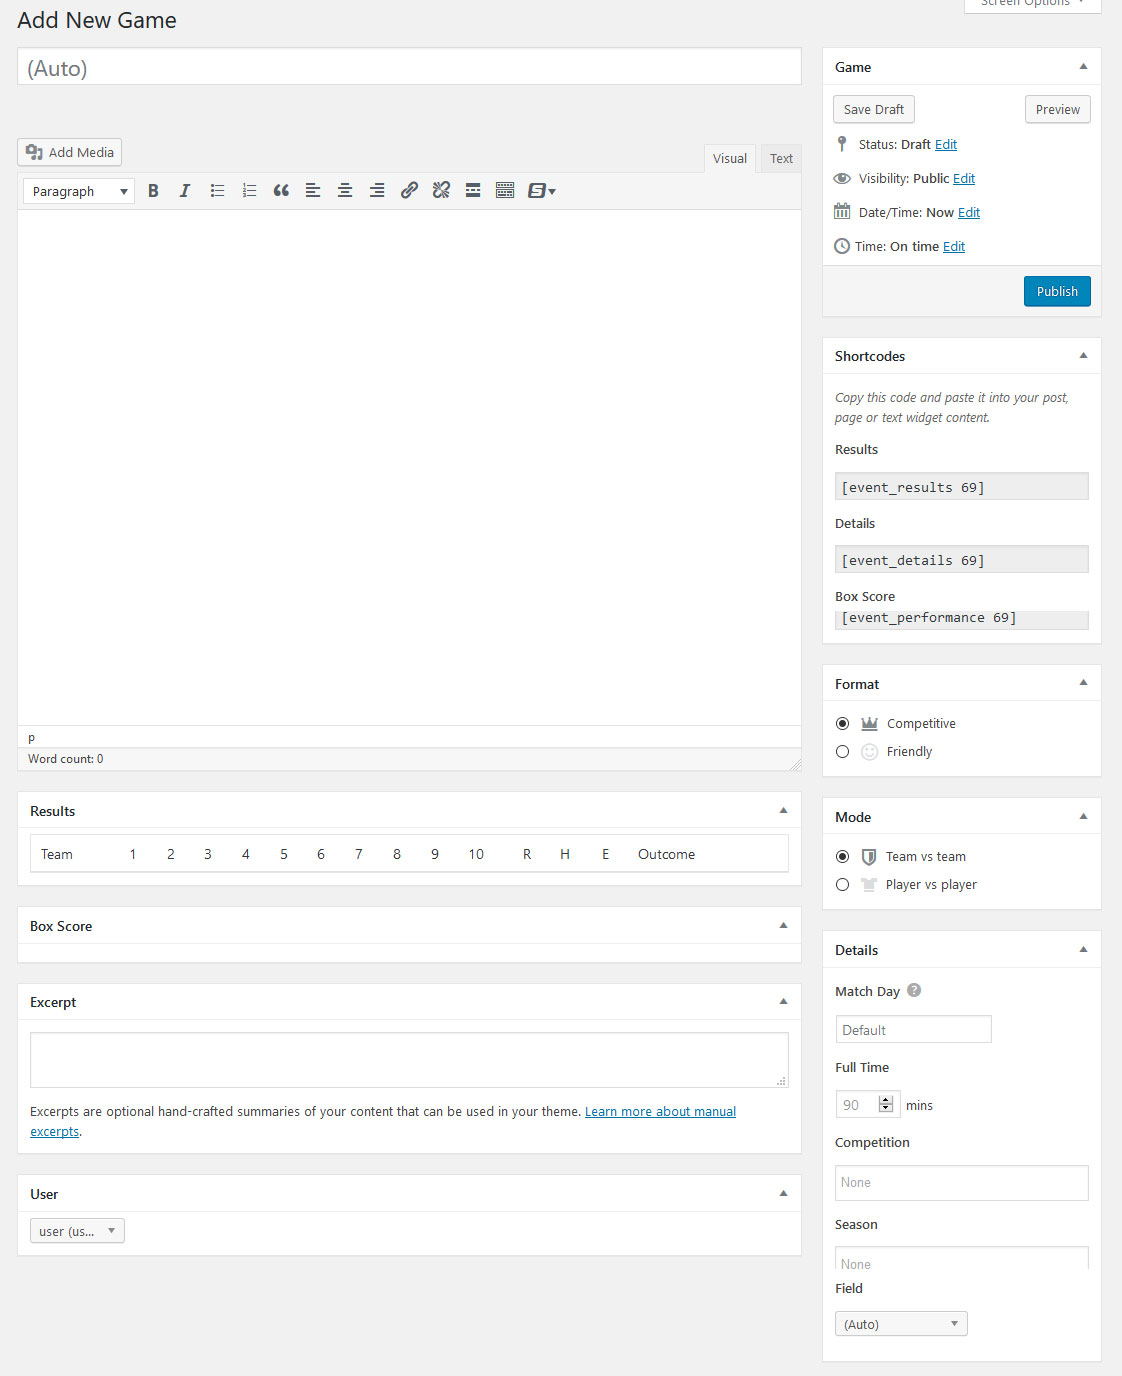
Once there, you can leave the title area empty. The plugin will be create a title automatically from the teams involved. Any description you add to the editor will show up on the game page. All the other settings are as follows:
- Format — Pick whether this is a friendly or competitive game
- Details — Determine the match day, game length, competition, season and venue (can often be left empty as SportsPress automatically adds the hosting team’s venue here)
- Teams — Pick who is playing, including which players are batting and pitching or who is not playing at all
The menu also give you the ability to set a featured image or add a video.
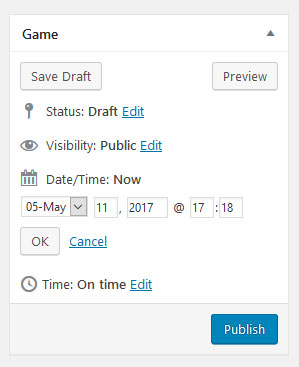
Important: The timing of the game is set in the Game column at the top right.
Once everything is done, just hit Publish. This will also show score boxes that you can fill in during the game or afterwards to update the score. Easy, right? Now all that’s left is figure out how to put the information you created on your site.
Displaying Your Information on the Front Page
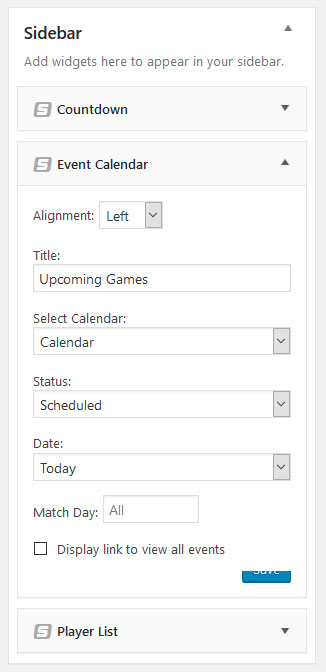
With SportsPress, we have different ways of showing things on the front page. The first option are widgets. Under Appearance > Widgets, you are able to display all sorts of information in any widgetized area you want. This includes a countdown to games, a calendar or a list of upcoming events.
To add stuff to the main content area, you need to populate it with short codes.
To do so, we first need a static front page. If you don’t know how to create that in WordPress, you can use this tutorial to set one up.
After that, you are able to add any desired information to you new front page very easily. For example, to display a league table (after you learn how to create them), just go to Teams > League Tables. Edit the tables saved here and copy the shortcode on the right. When you now paste it on the homepage and update the page, you will see the league table right there.
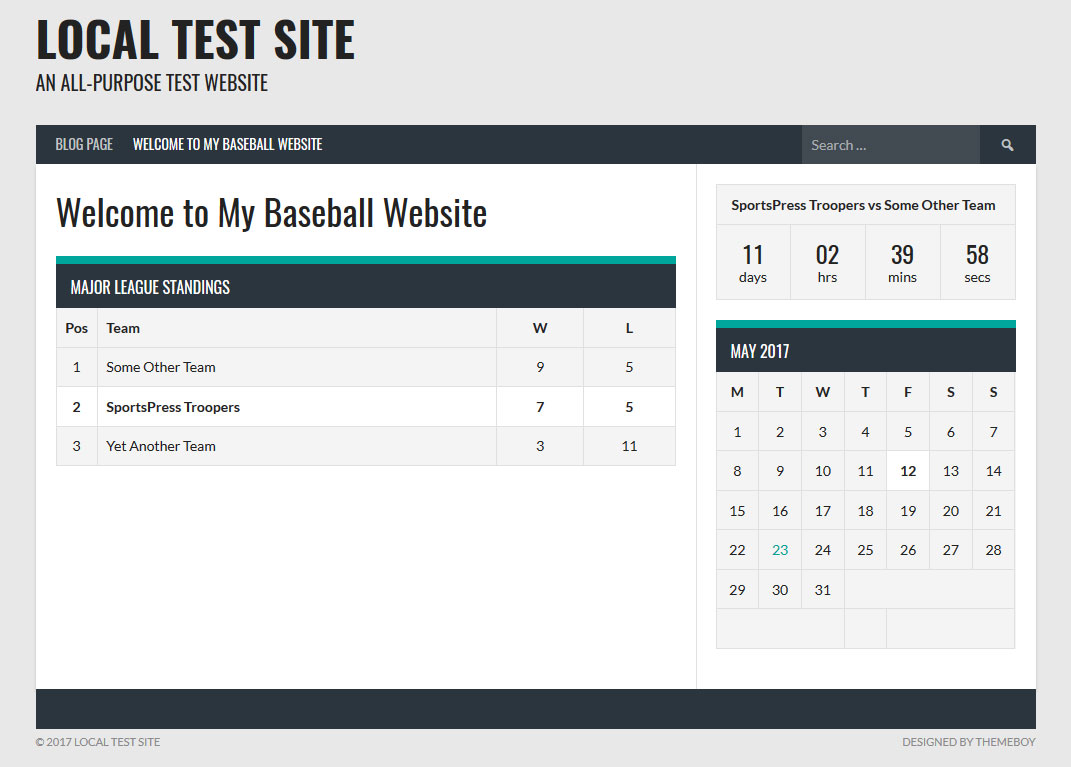
That’s it, you now know all the basics to create a baseball website in WordPress.
Final Thoughts
Baseball is a sport with many die-hard fans. While it doesn’t have the global following as many other disciplines (*cough* soccer *cough*) it’s still a game that excites millions of people. For that reason, any baseball team worth its salt needs its own professional website.
Thankfully, as the tutorial above has shown, creating a baseball website in WordPress is pretty easy. The SportsPress plugin allows anyone to build whatever site they need. For even more features, we also recommend you try out SportsPress Pro. For more information, check out the list of features.
Are you looking to build a baseball website? SportsPress has your back. It’s free, chock full of features and a dream come true for anyone building a sports website. Do you have any questions? Please read don’t hesitate to get in touch.
